








Frequently Asked Questions
You can find answers to your questions here.
Possible Cause and Solution 1
The emergency stop button may be pressed. In accordance with CE standards, this button cuts off all power to the system. If it is pressed, turn it to the right to release the button.
Possible Cause and Solution 2
The electrical connection to the machine may not have been made correctly, or your electrical supply line may not be configured properly. Low voltage or loss of one of the phases may cause this type of problem. Have your electrical supply line checked. Make sure that the outlet to which the machine is connected provides 380V and 3-phase power.
Three-phase motors can rotate in the reverse direction. Check whether the motor is rotating in the direction indicated by the arrow as described in the user manual. (See: 8.3) If it is rotating in the opposite direction, unplug the machine and swap the positions of any two of the three phase wires in the cable, then reconnect it. (See: 7.4) If the procedure is performed correctly, you will see that the machine rotates in the correct direction and operates properly.
To determine which direction the motor is rotating, the machine must first be able to operate. If you are sure that the machine is receiving power, it may not have completed a full cycle, meaning that the mechanism may have stopped halfway through its cycle. The easiest way to identify this is by checking the position of the slides that carry the materials to the jaws. If the slides have not fully reached their correct position and remain retracted, the machine will not operate. To bring the machine back to its correct cycle position, simply turn the handwheel located at the rear of the main motor manually. As you turn it, you will see that the slides also move into their correct position.
Possible Cause and Solution 1
The machine has a separate DC motor that rotates the bowls to feed the materials placed in the hoppers into the channels. Check whether the 1-0-2 switch that turns this DC motor on and off is in the correct position. (See: 8.4) Turn the switch to position 2 so that the motor runs continuously at the initial stage.
Possible Cause and Solution 2
The belts that transmit rotation from the DC motor to the bowls may have stretched, come off, or may not have been installed correctly. Check the belts and make sure that the power transmission is functioning properly.
Possible Cause and Solution 3
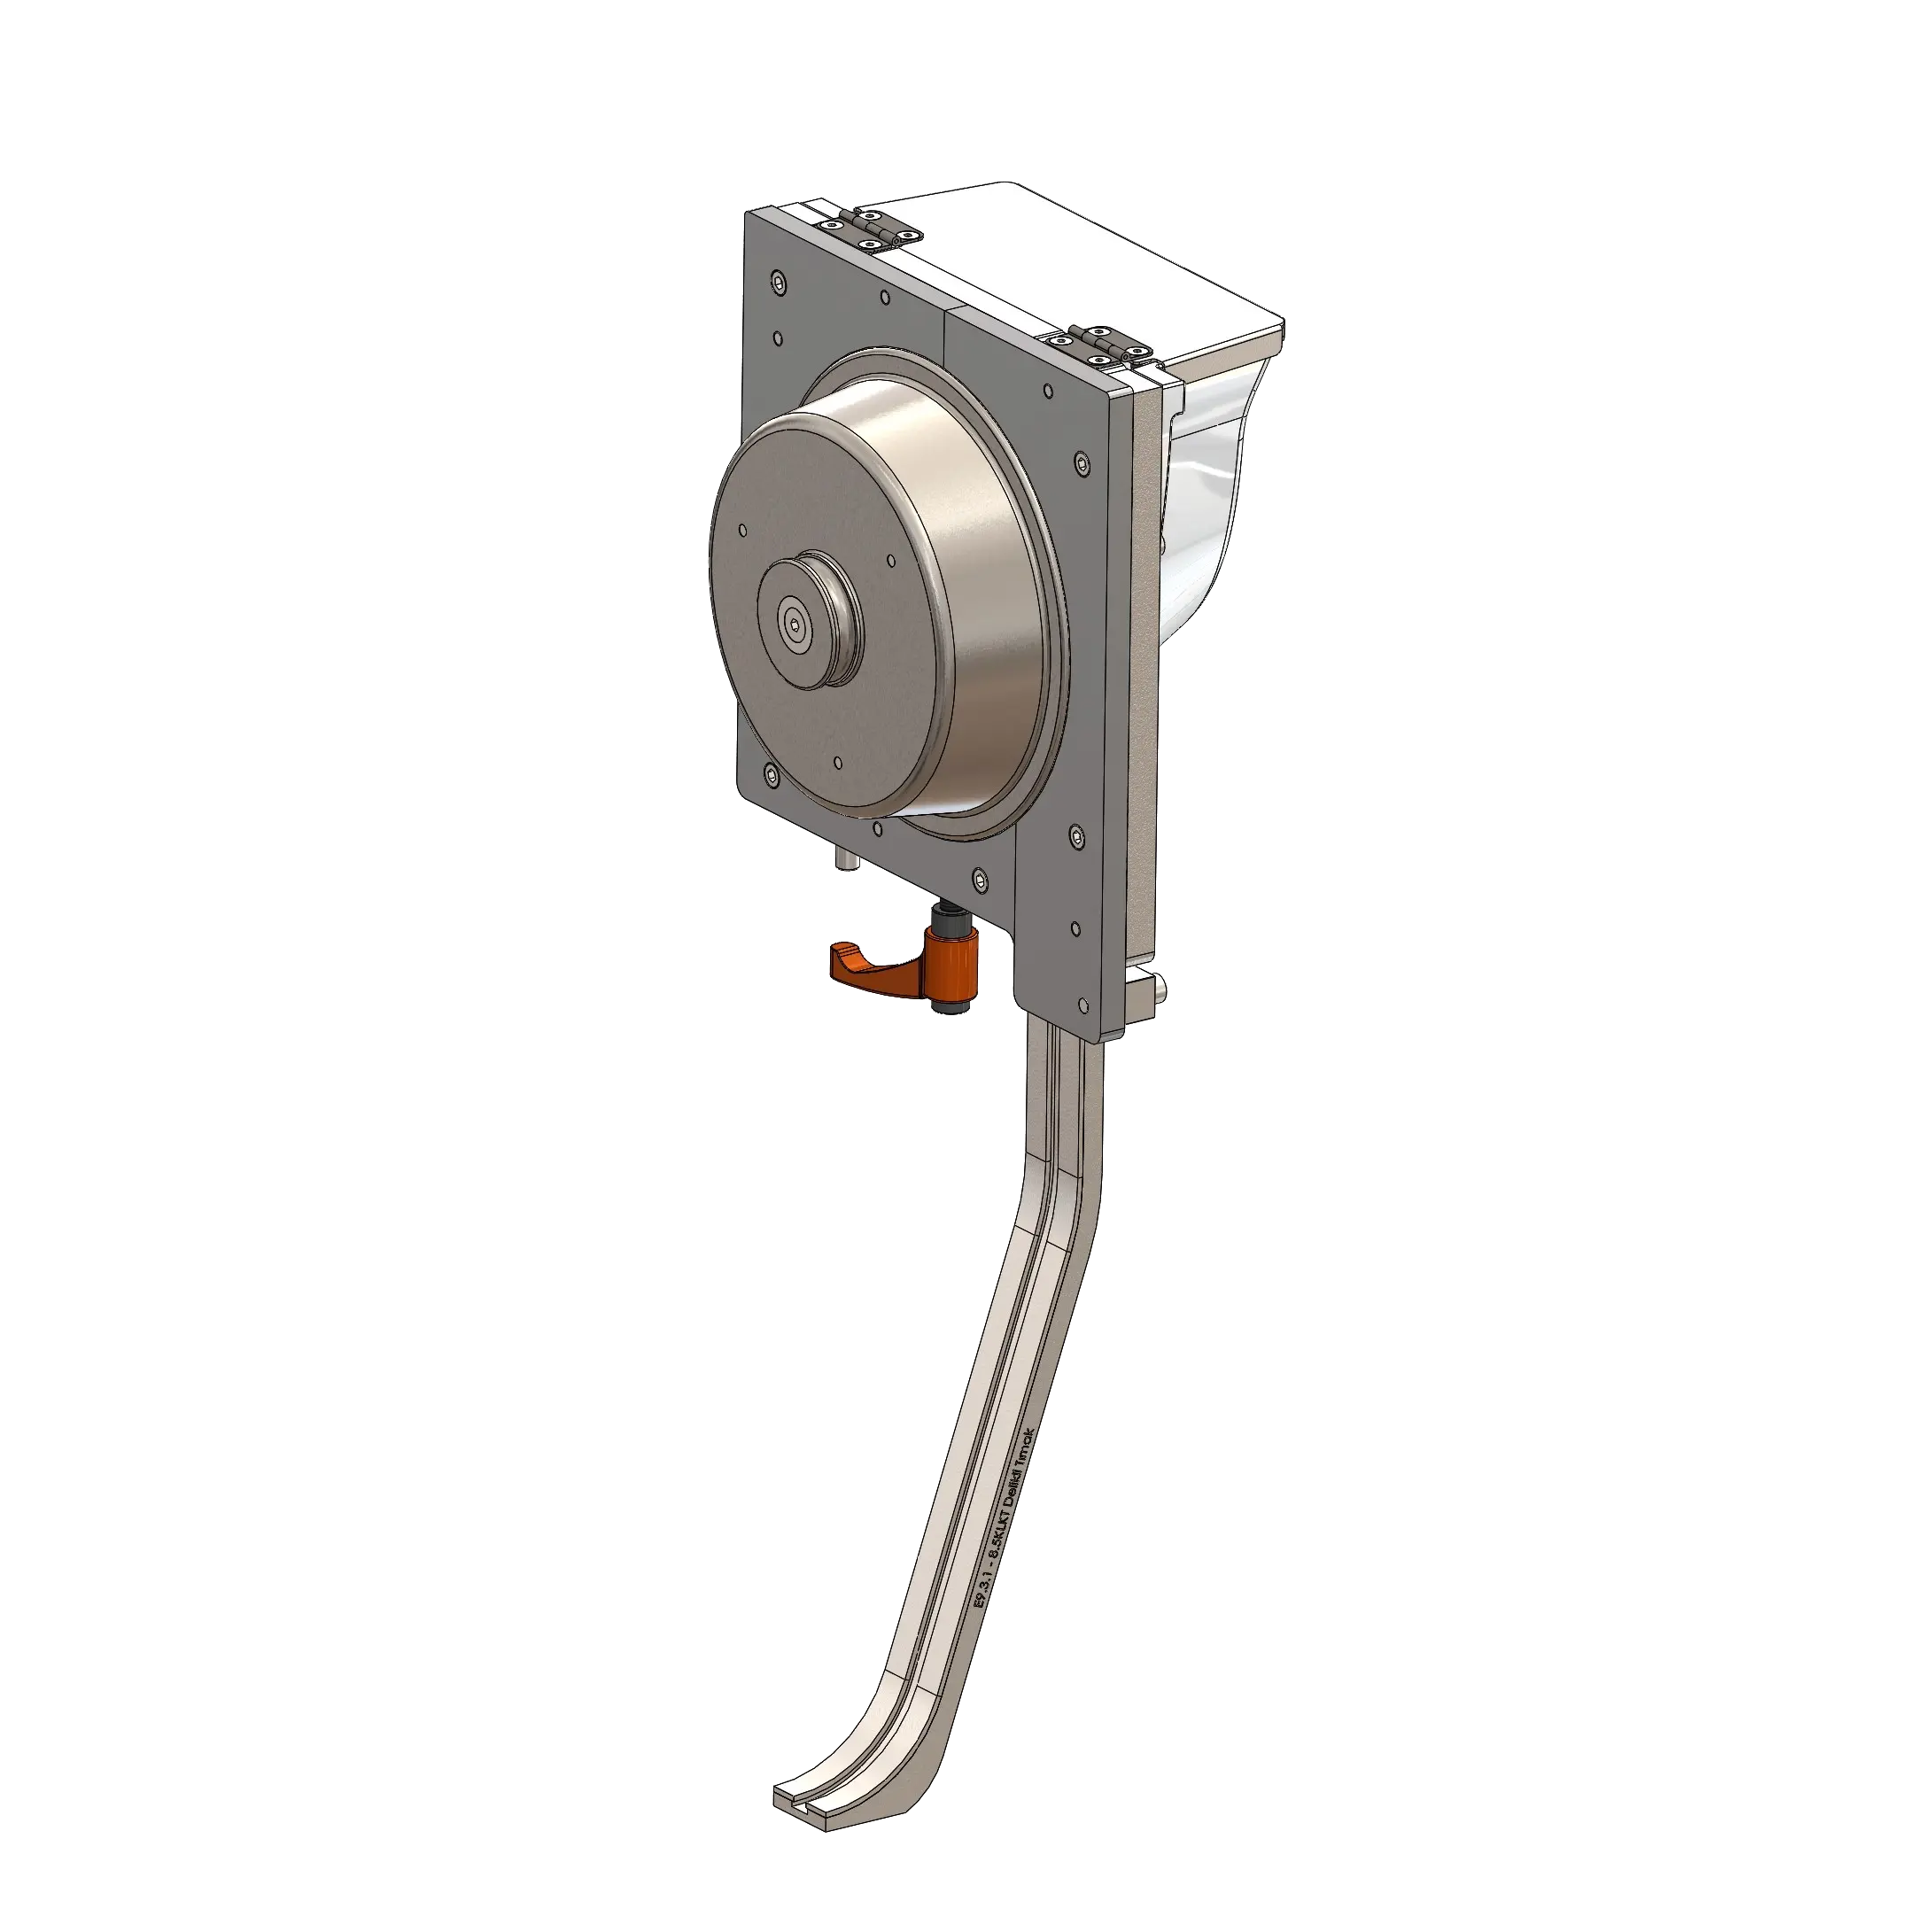
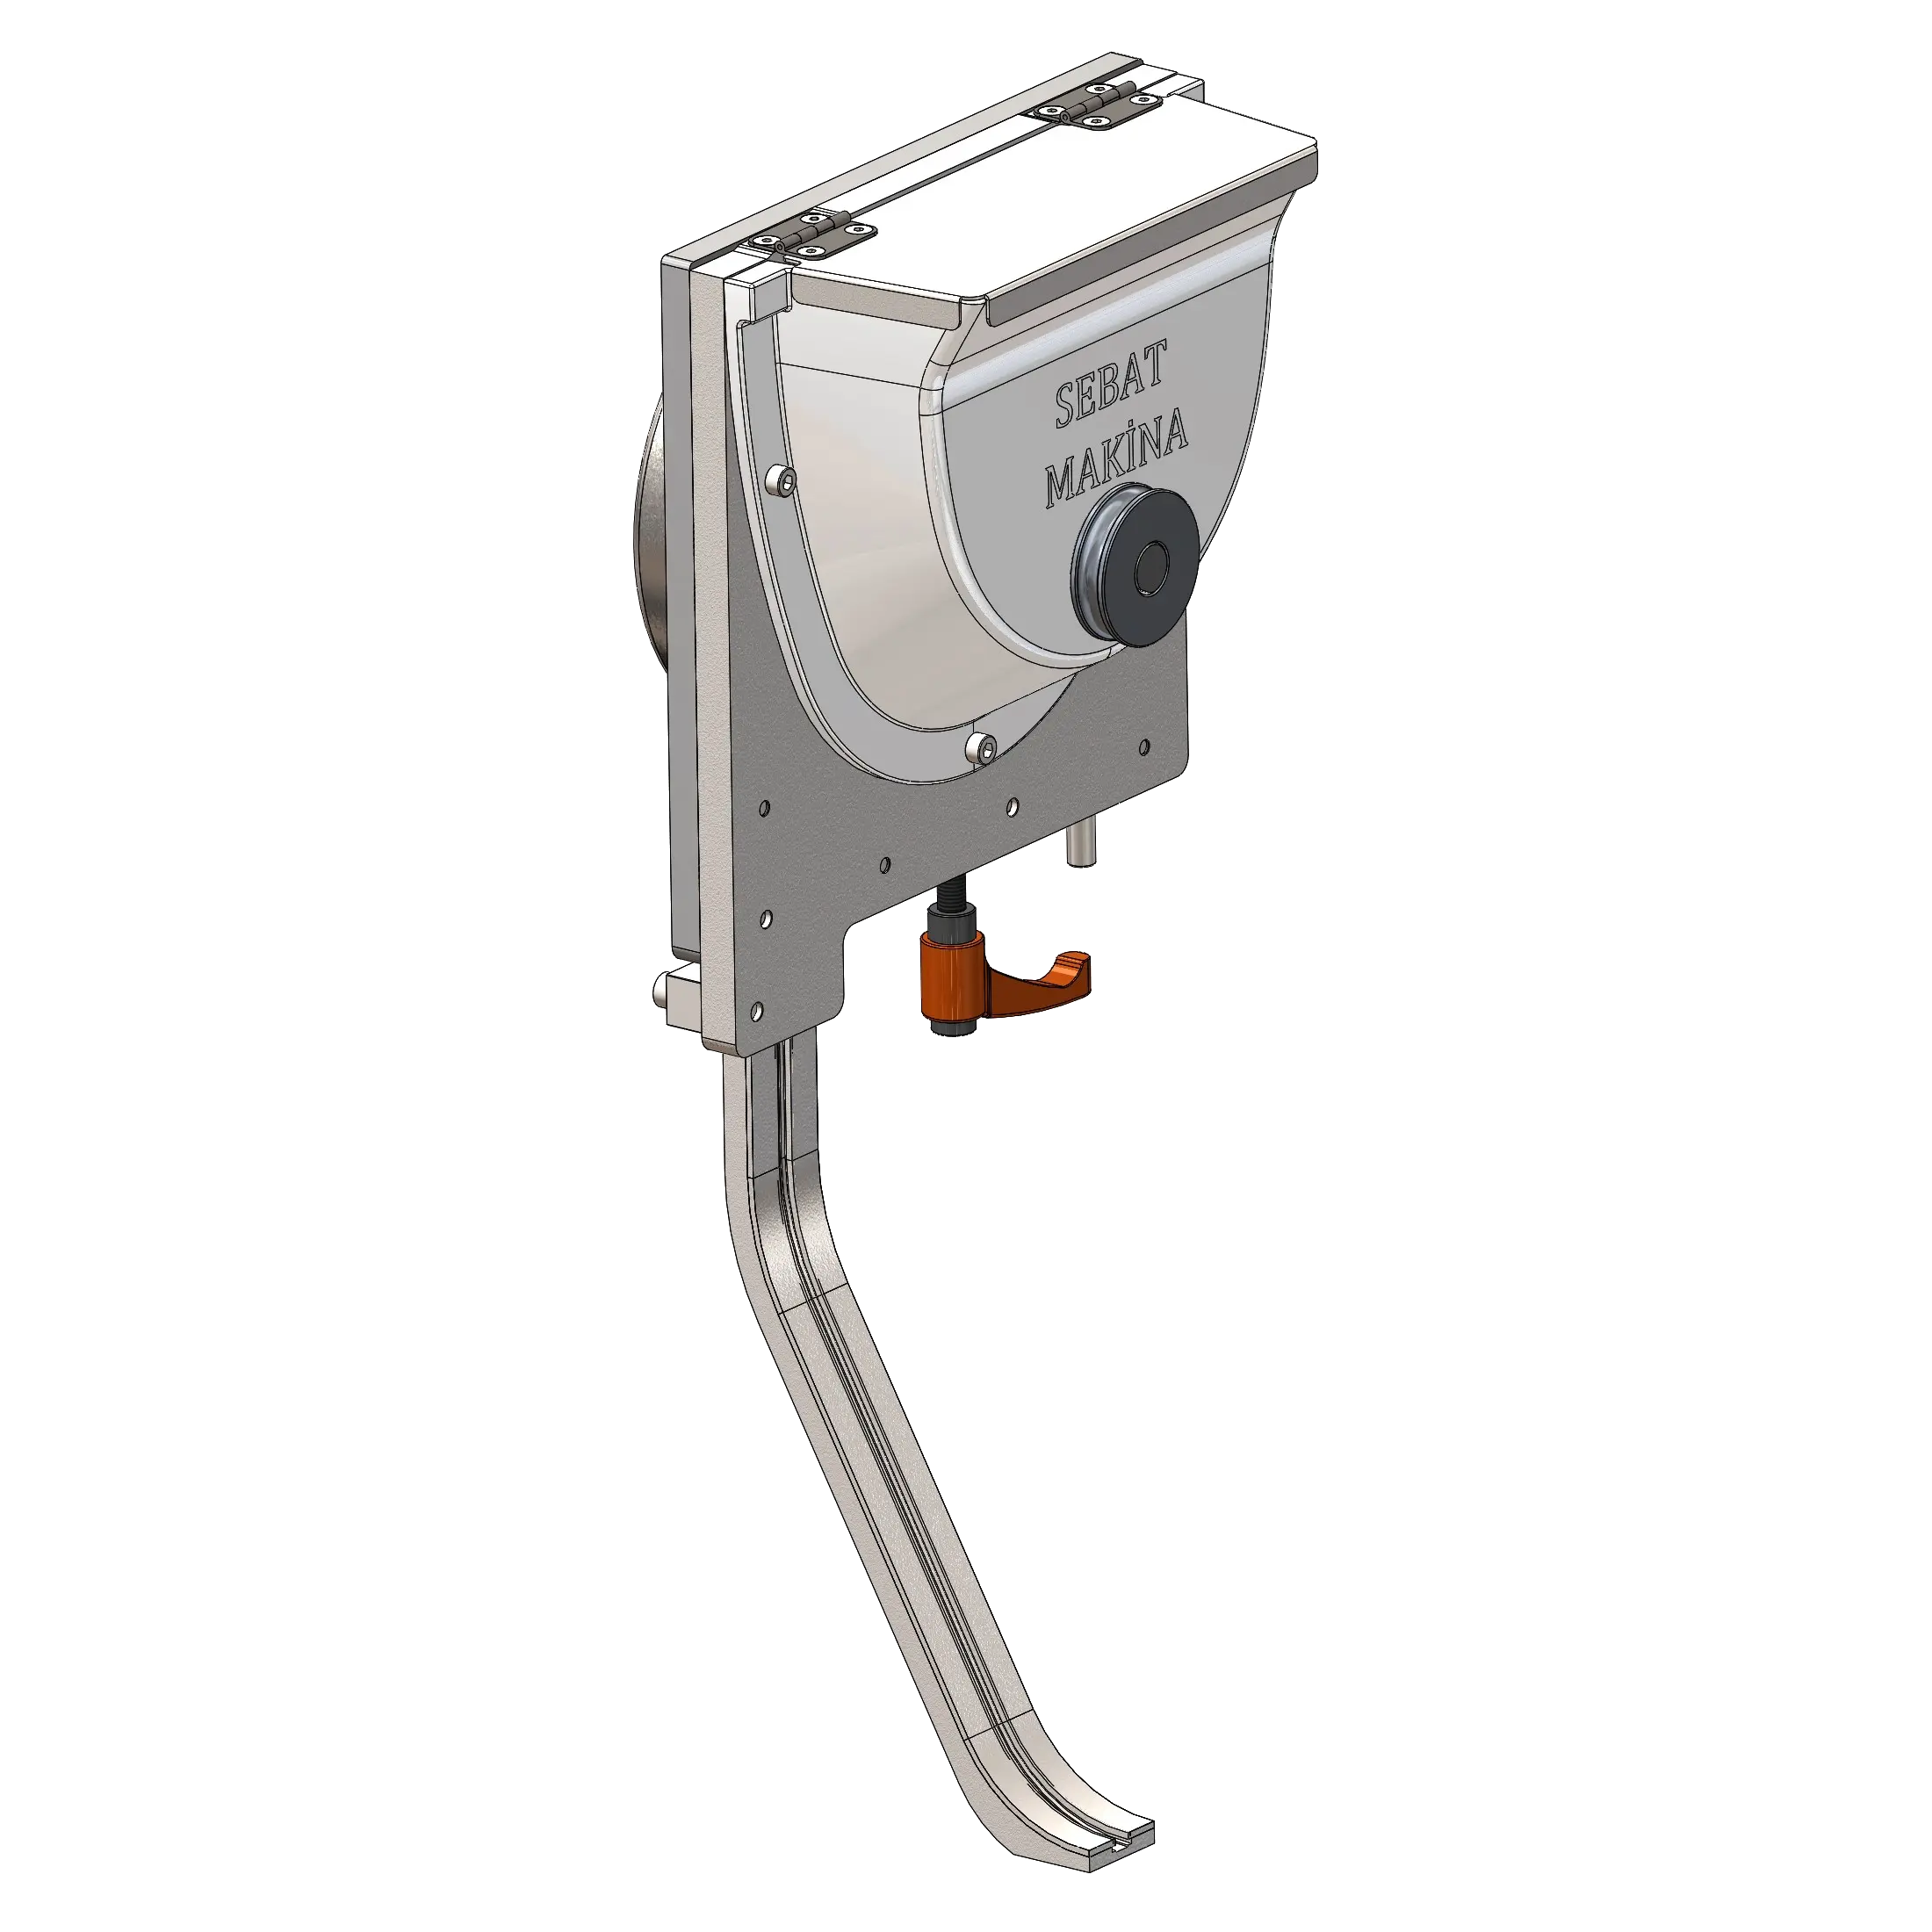
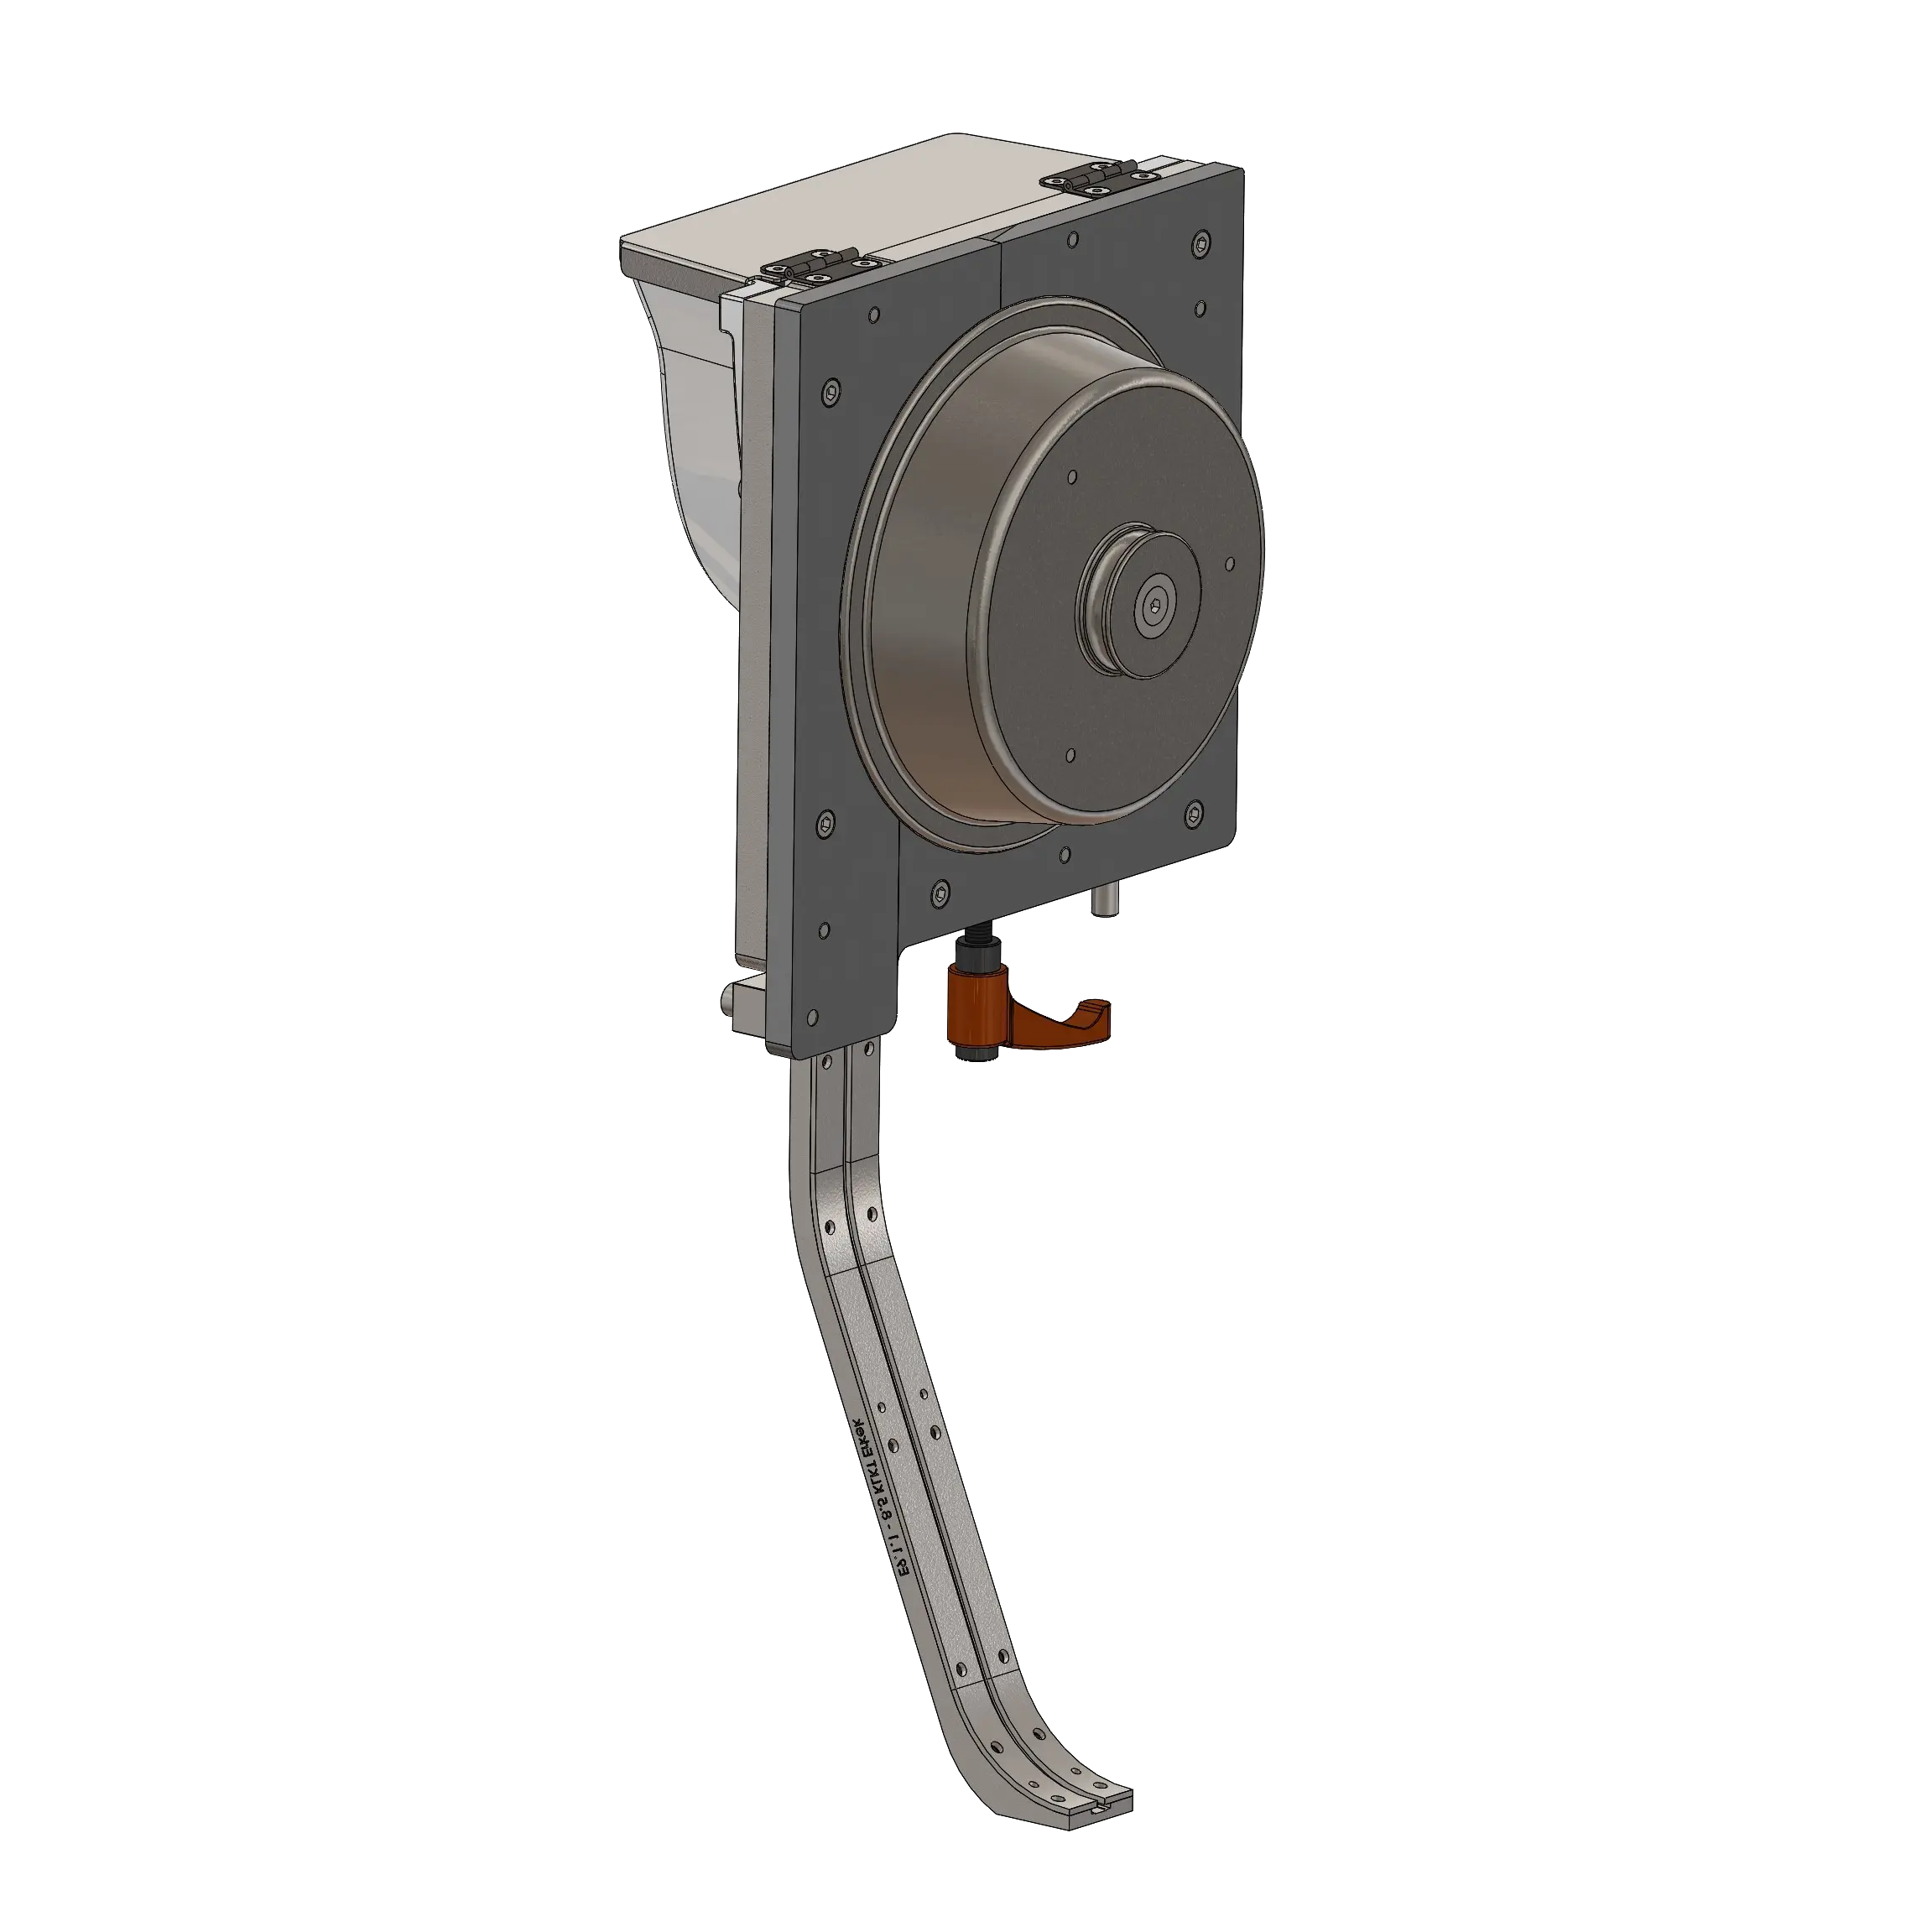
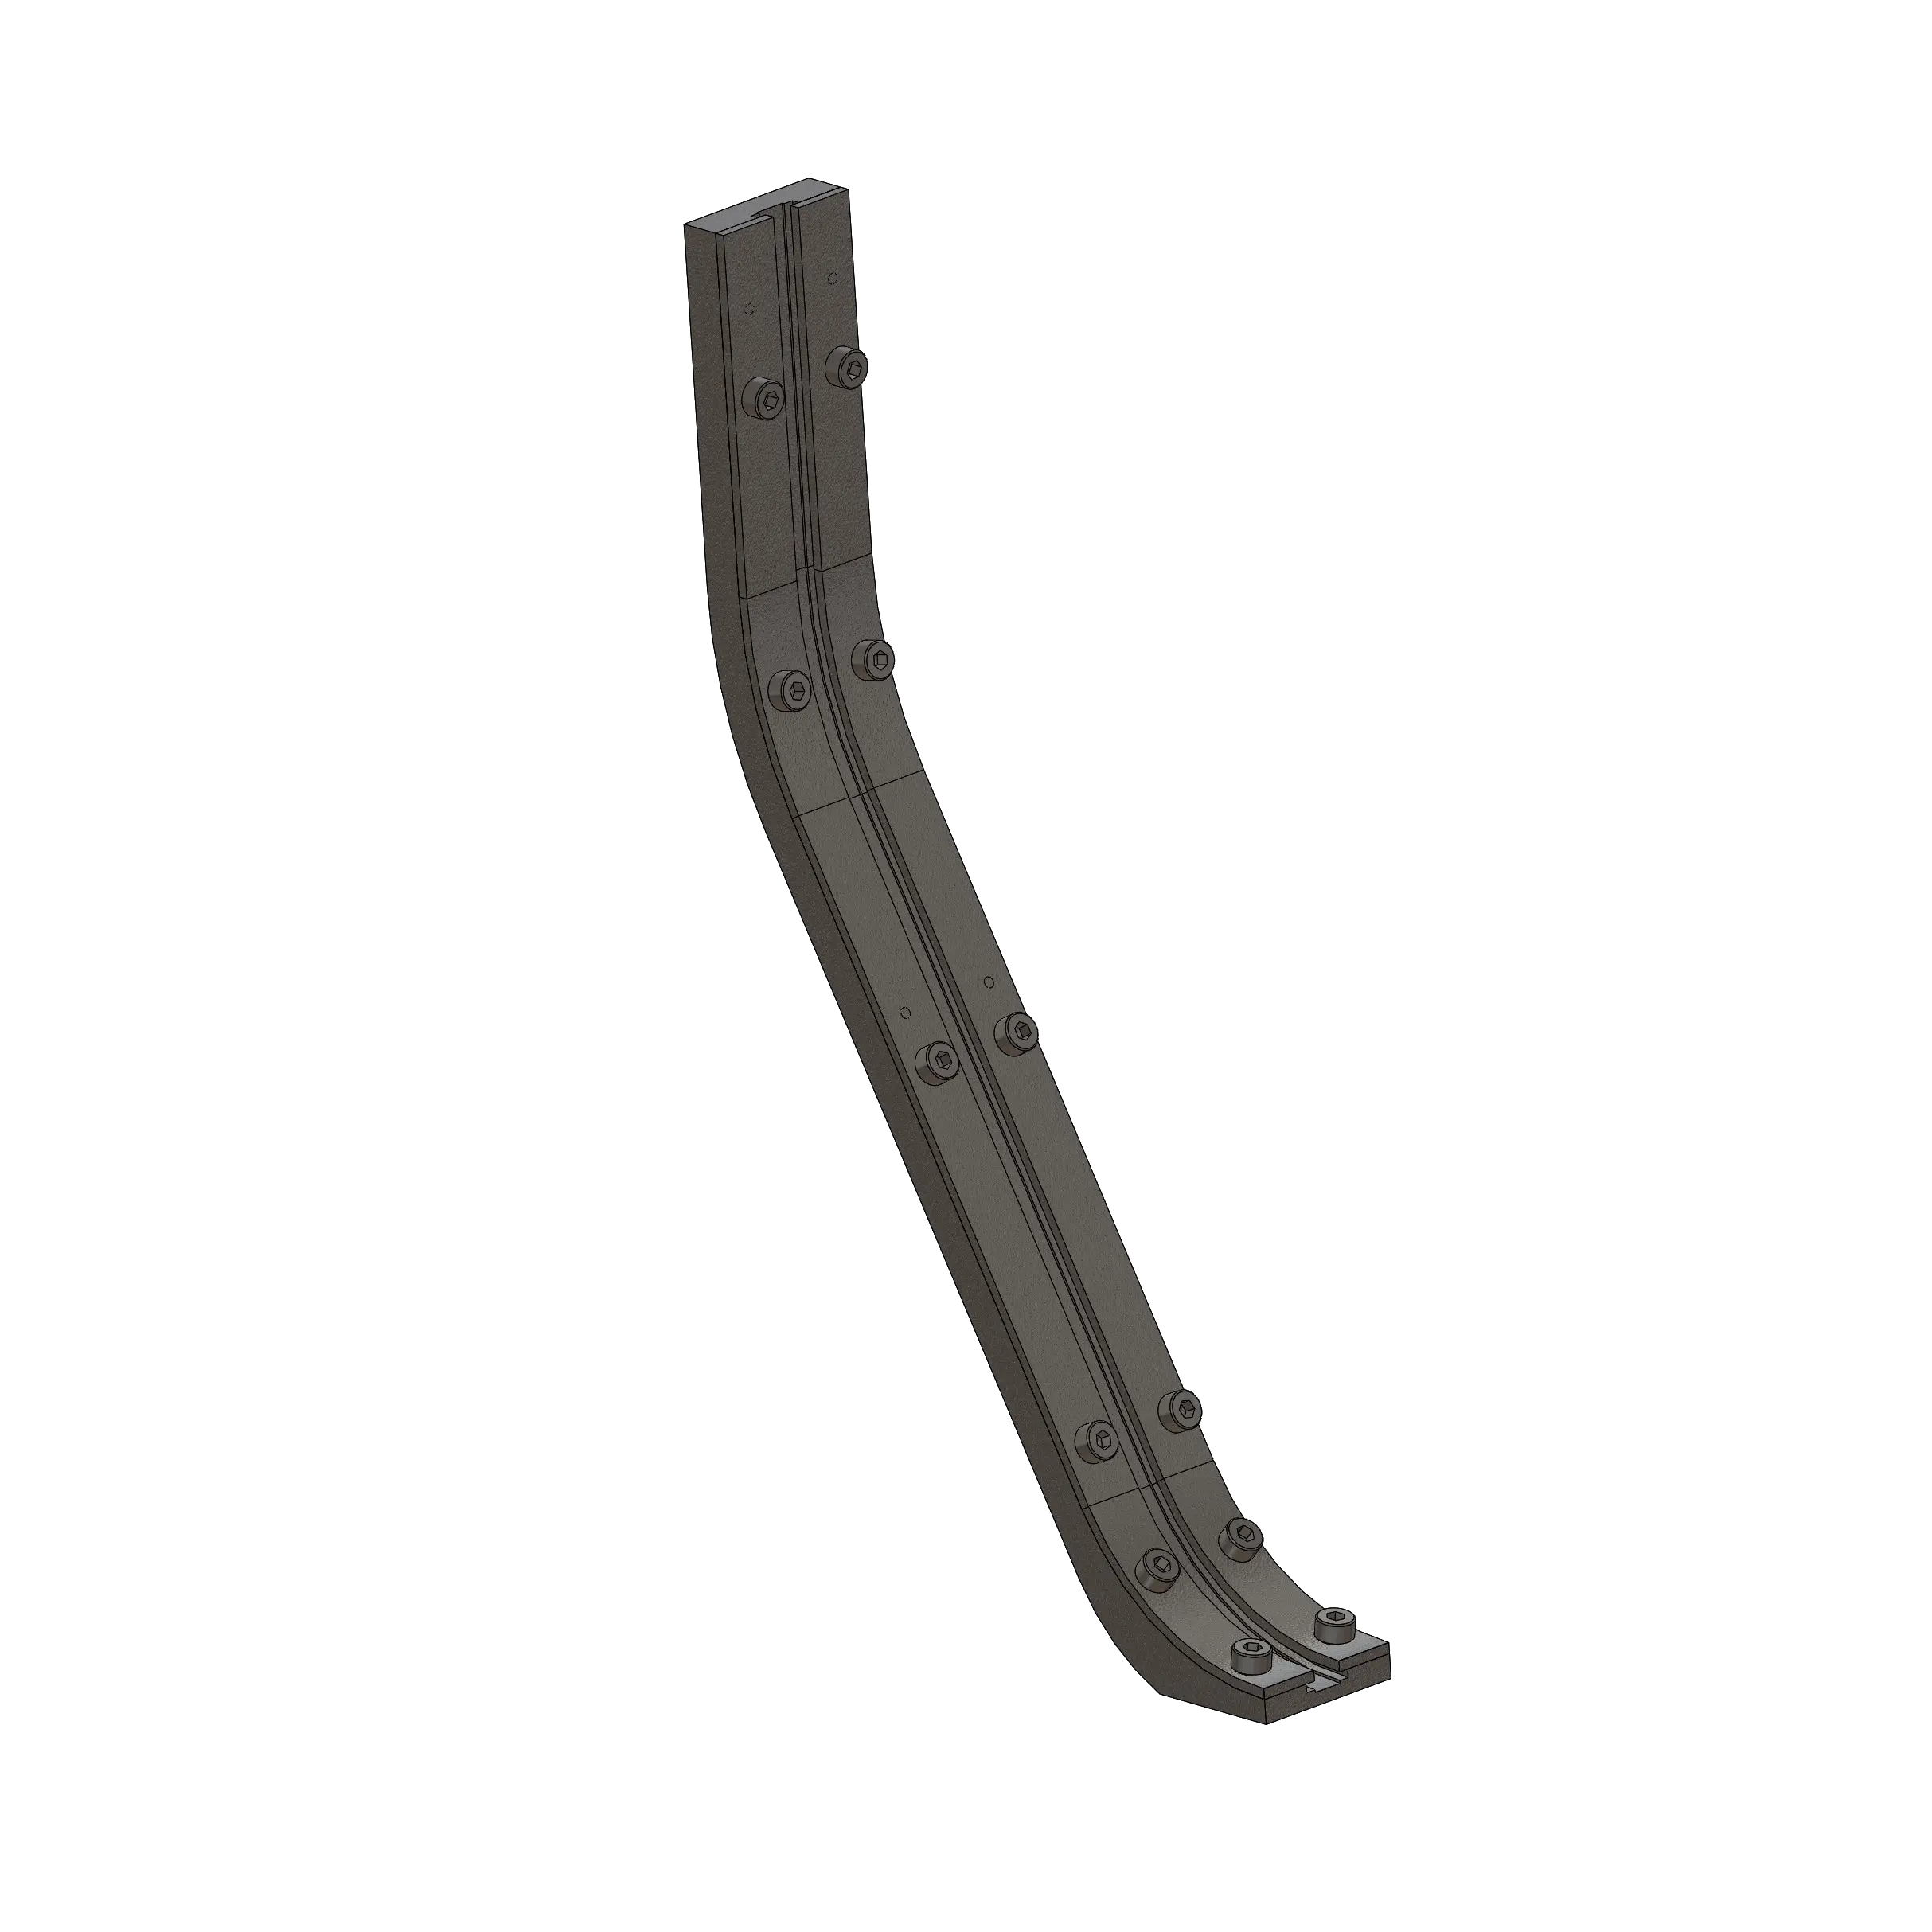
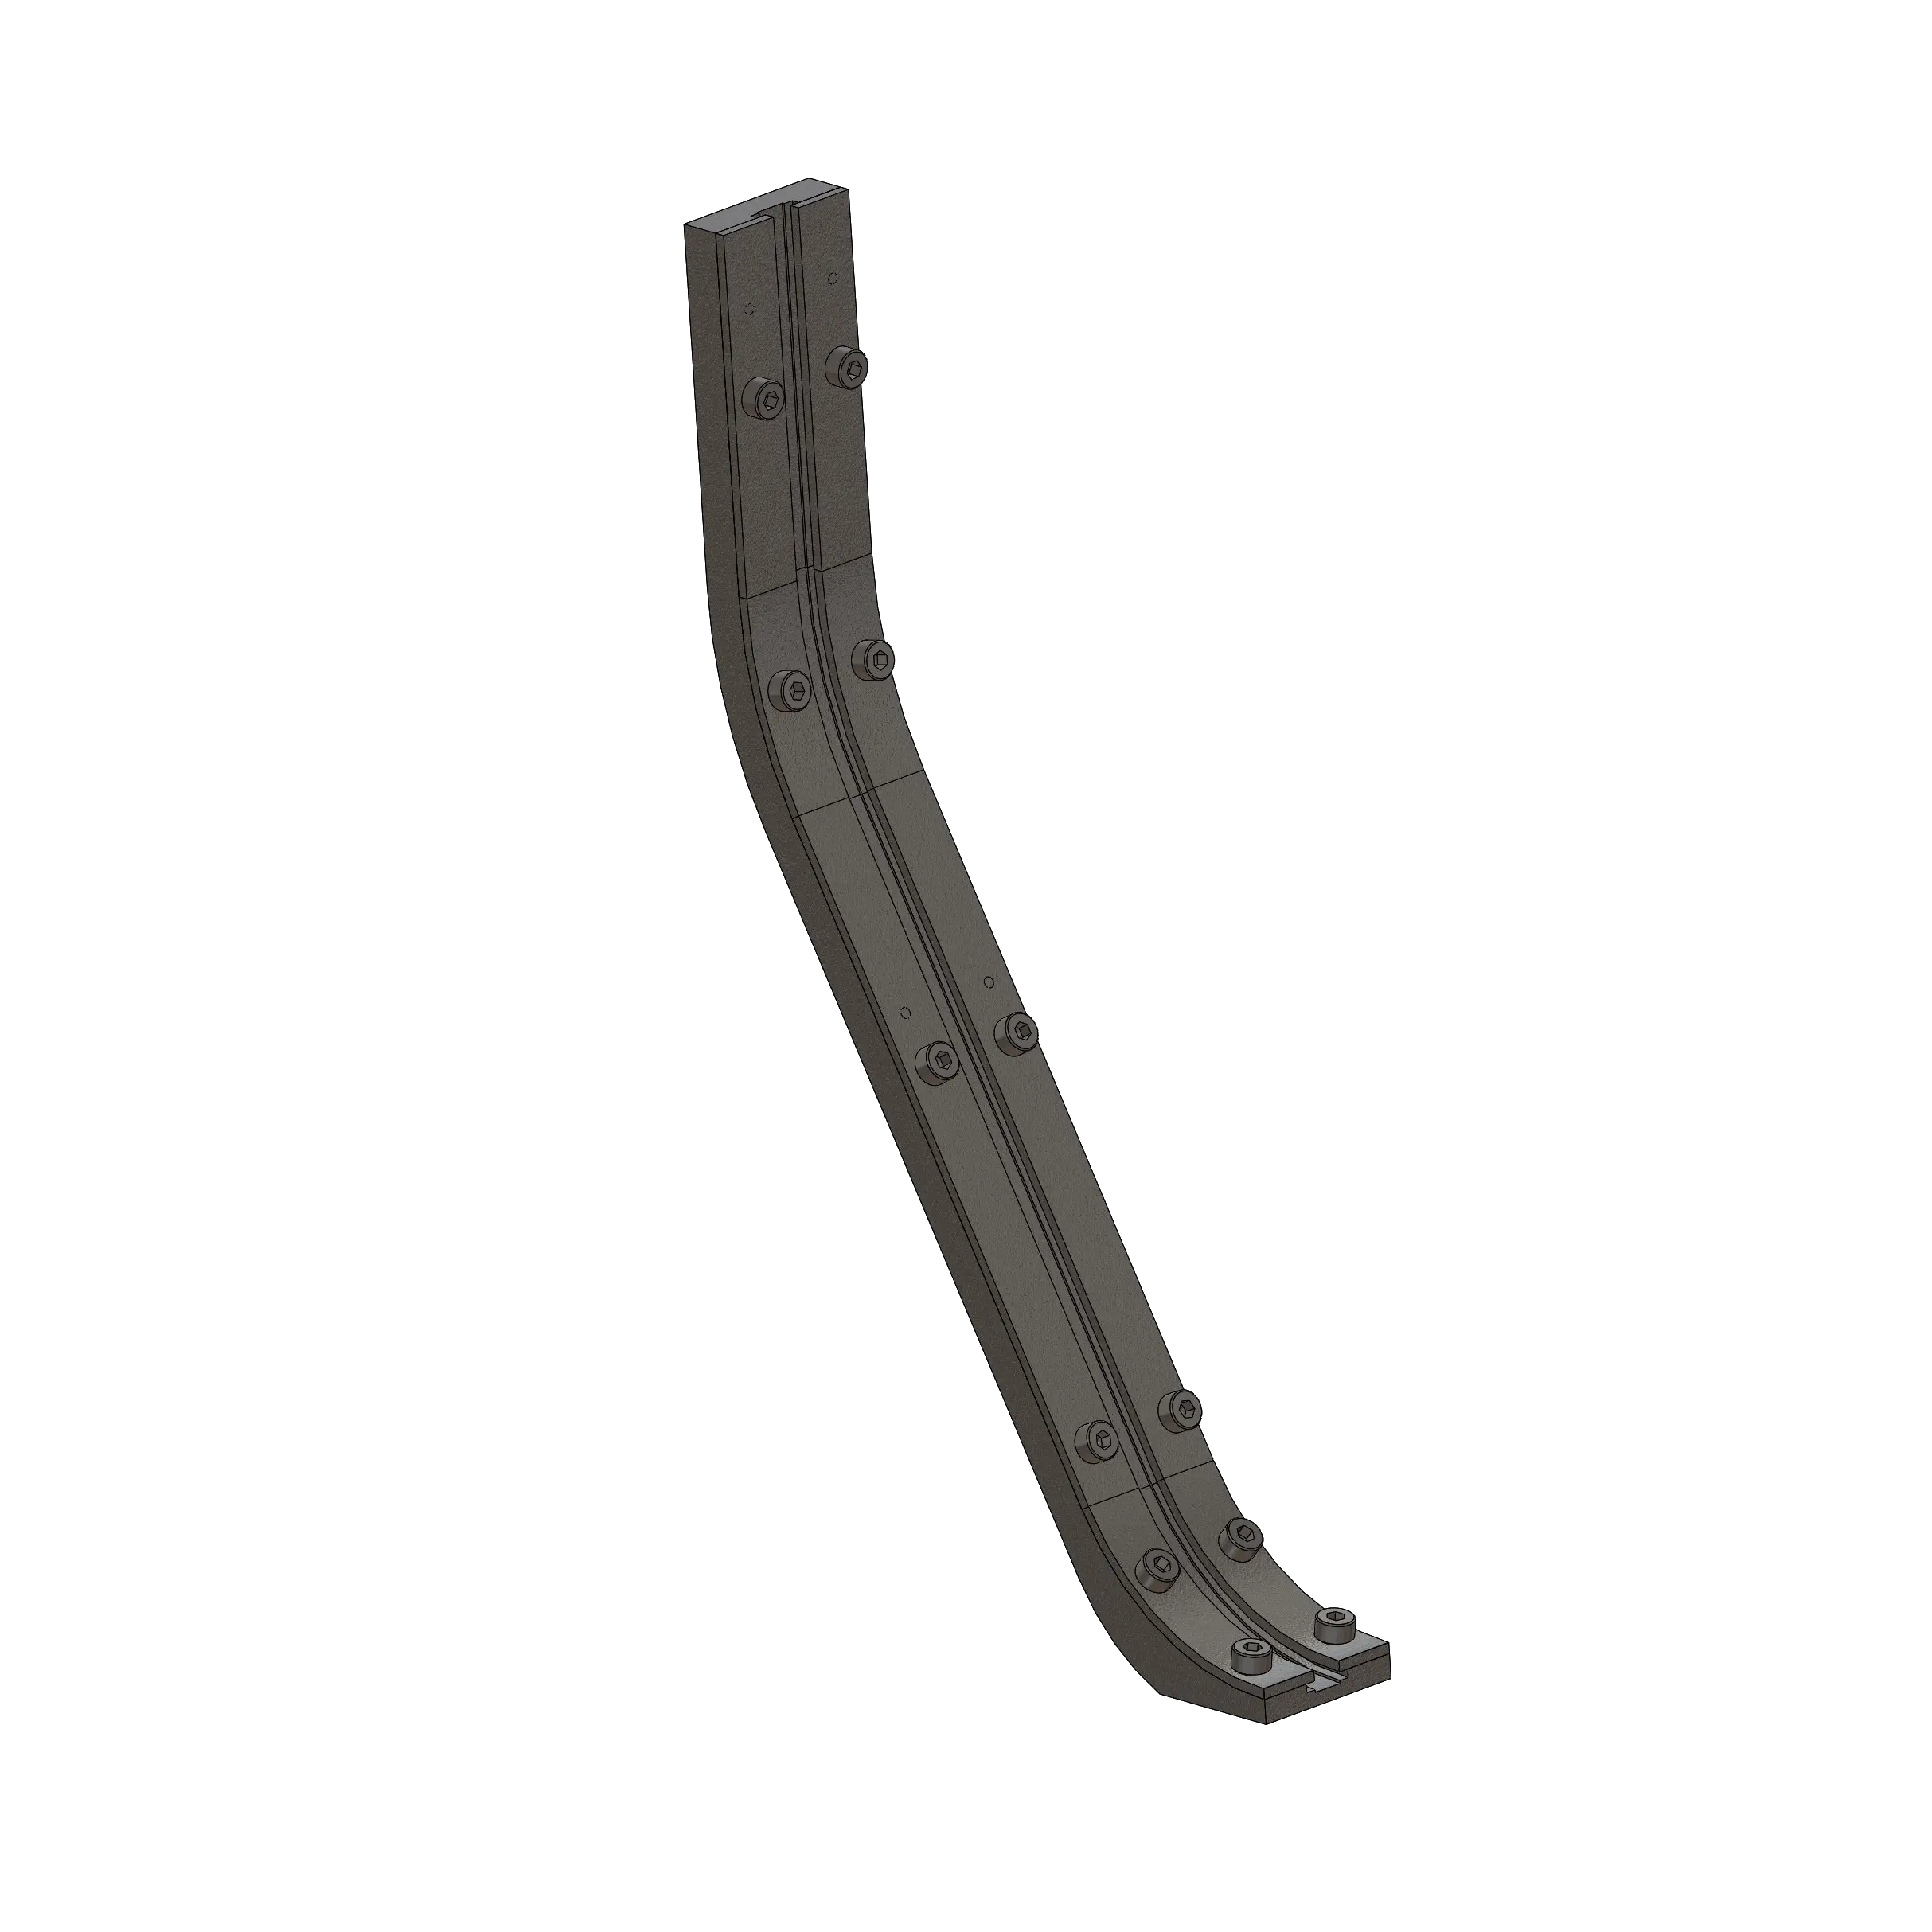
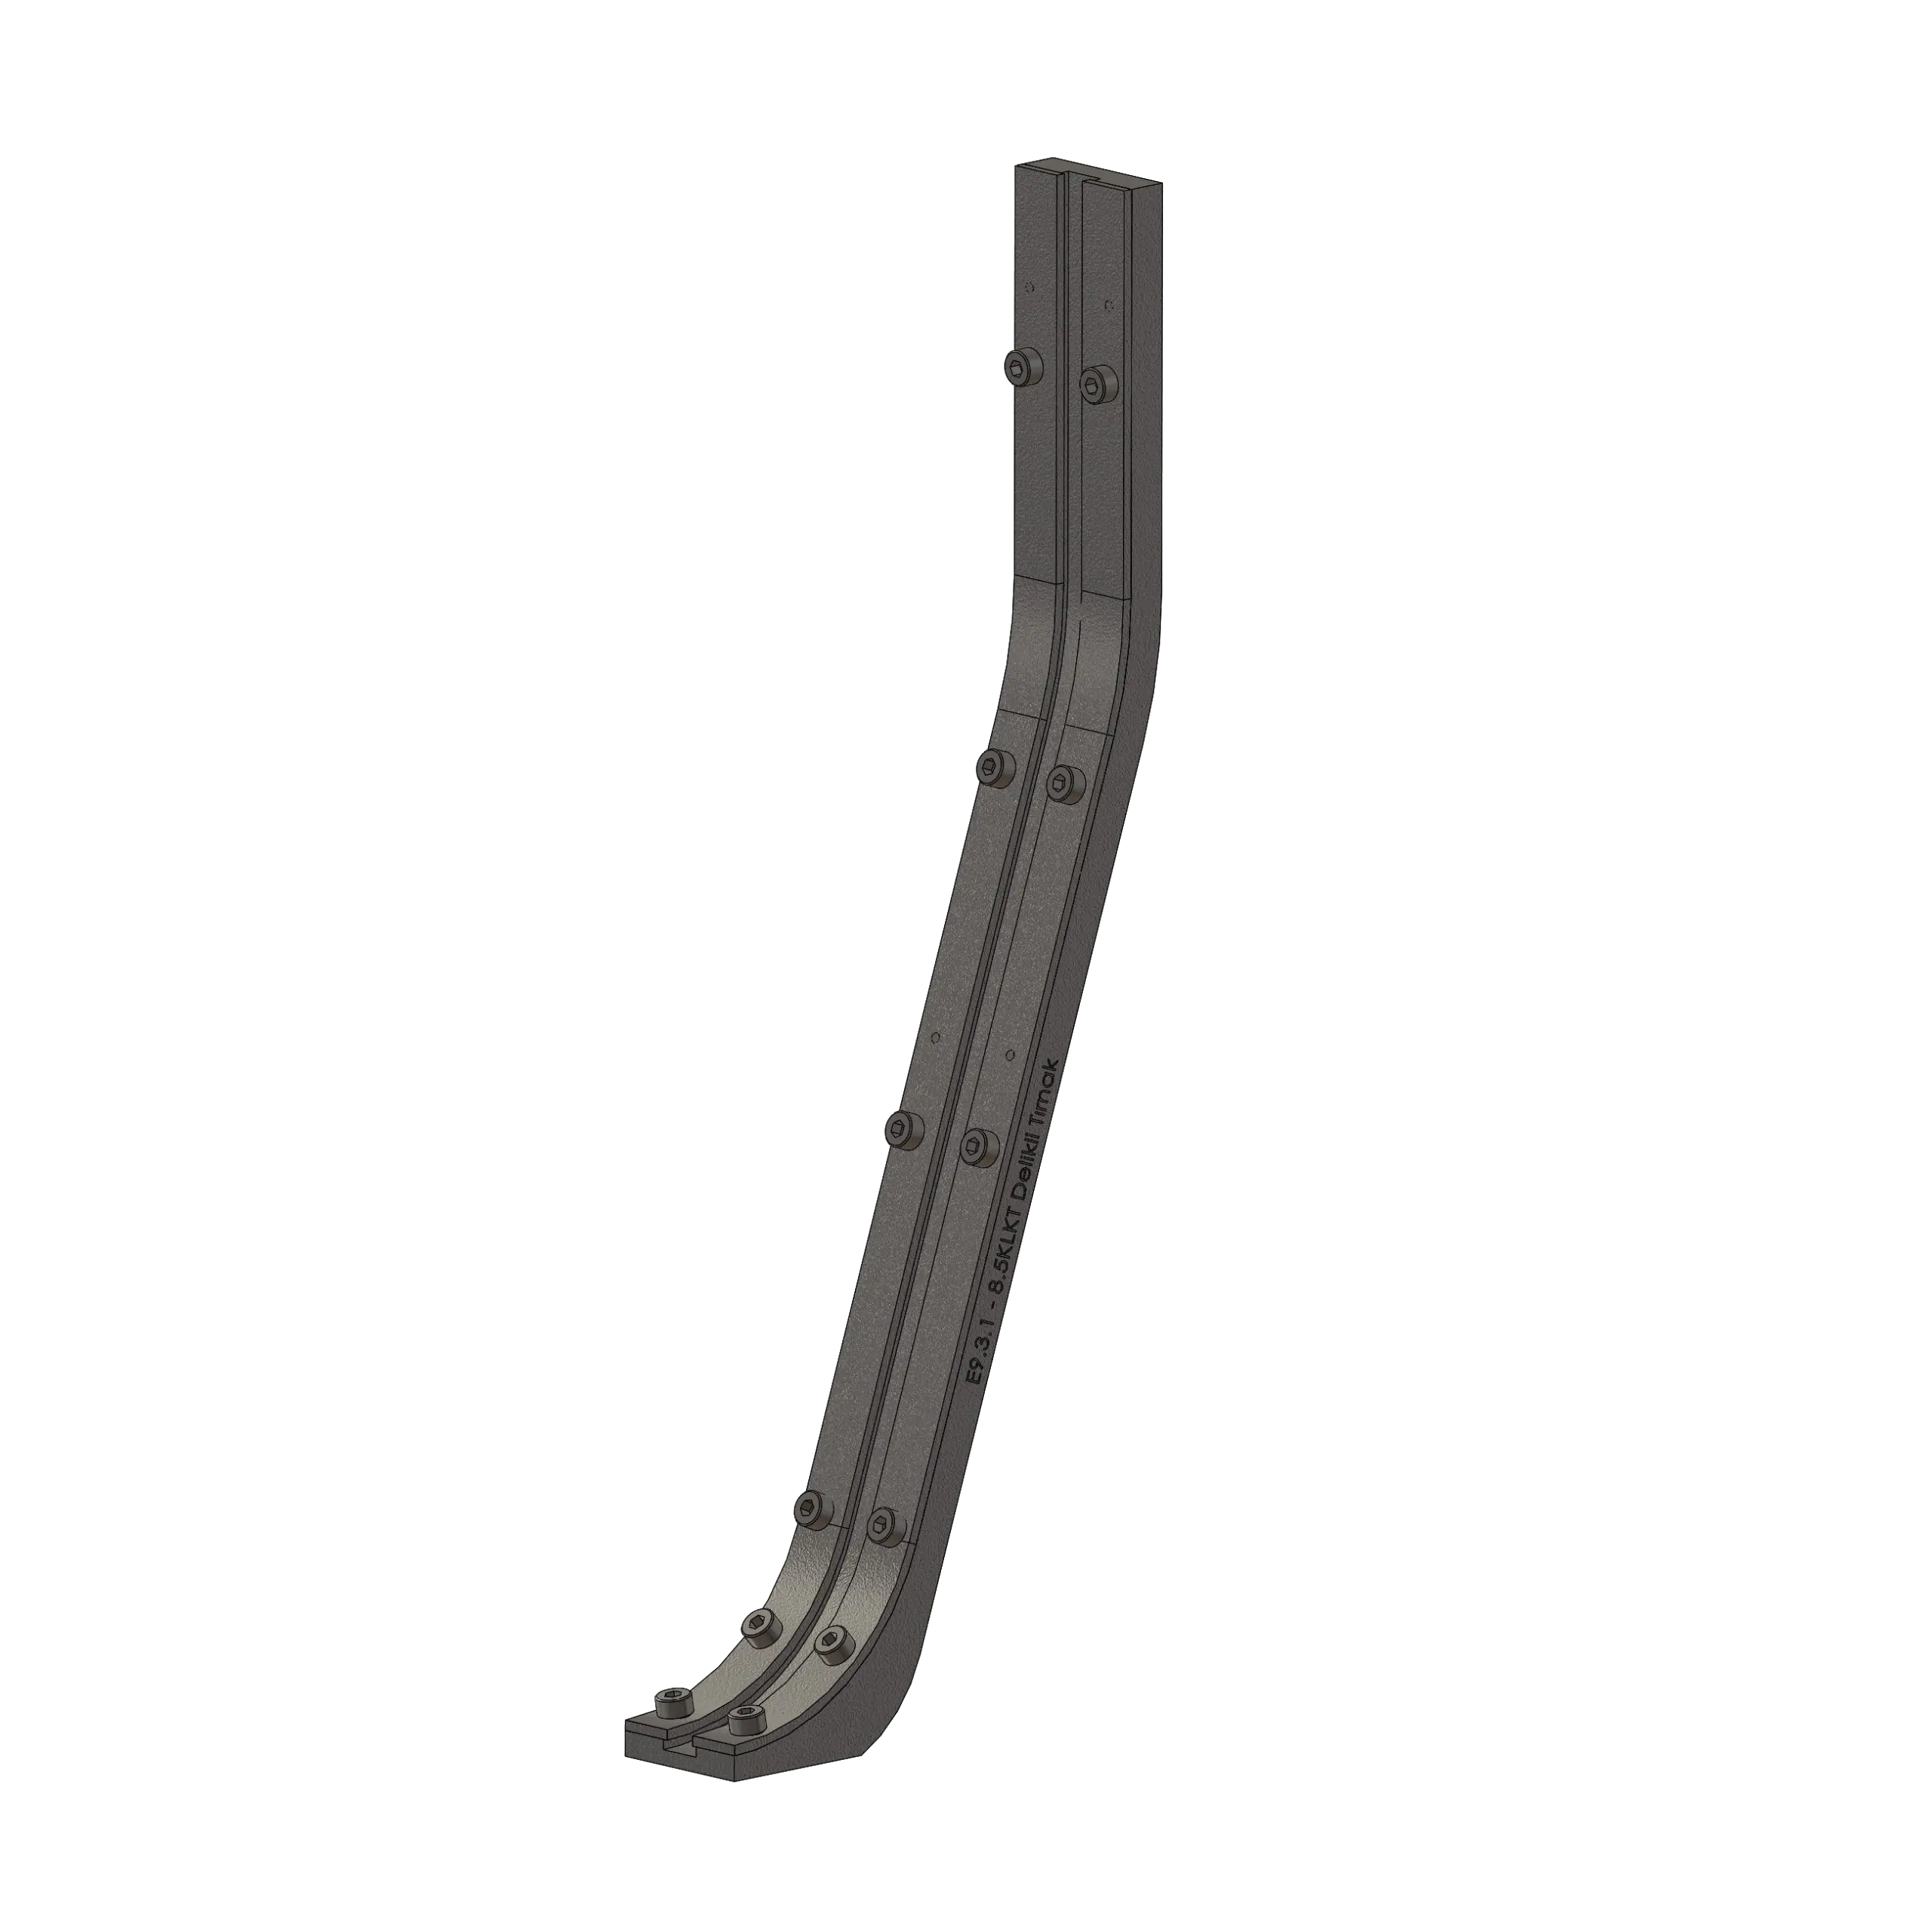
The channel may not be seated fully in place. If the channel is not connected correctly, it may not receive the material. Remove the channel, seat it fully in its correct position, and reconnect it.
Possible Cause and Solution 1
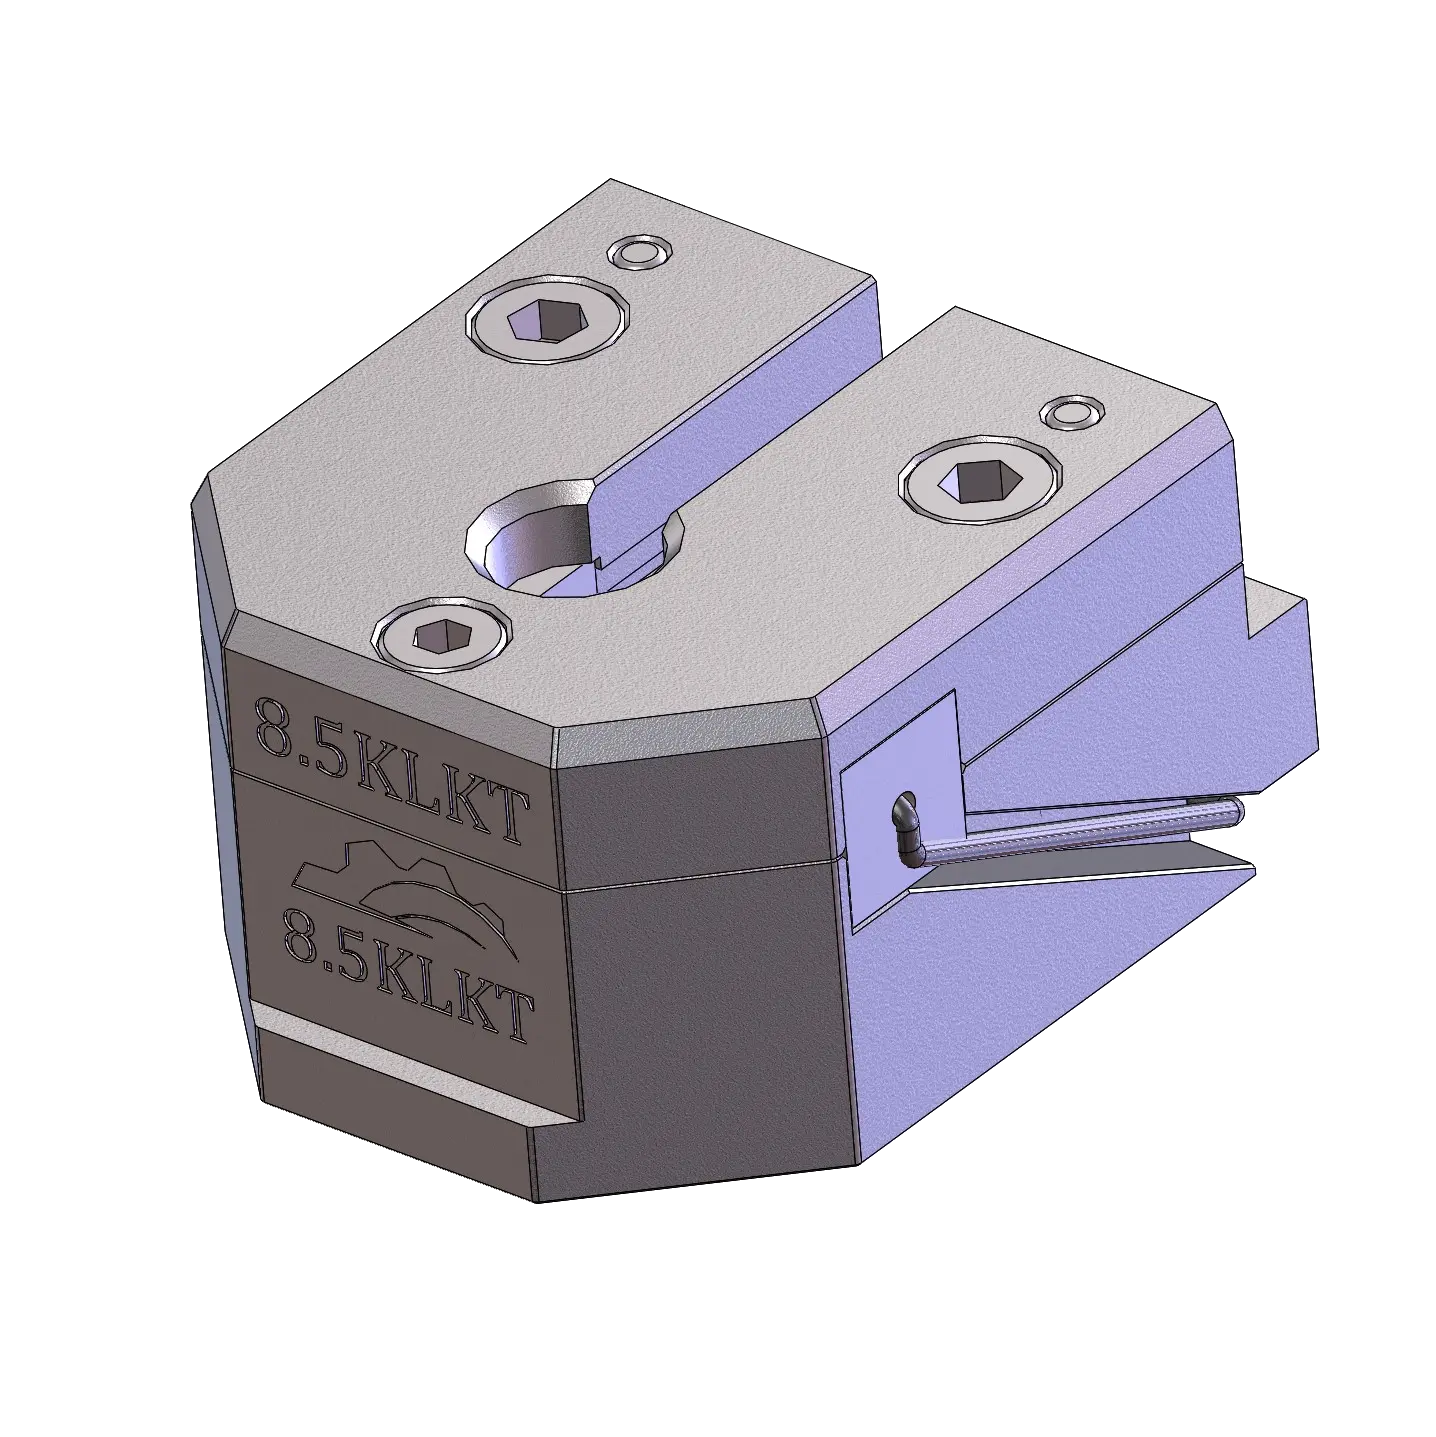
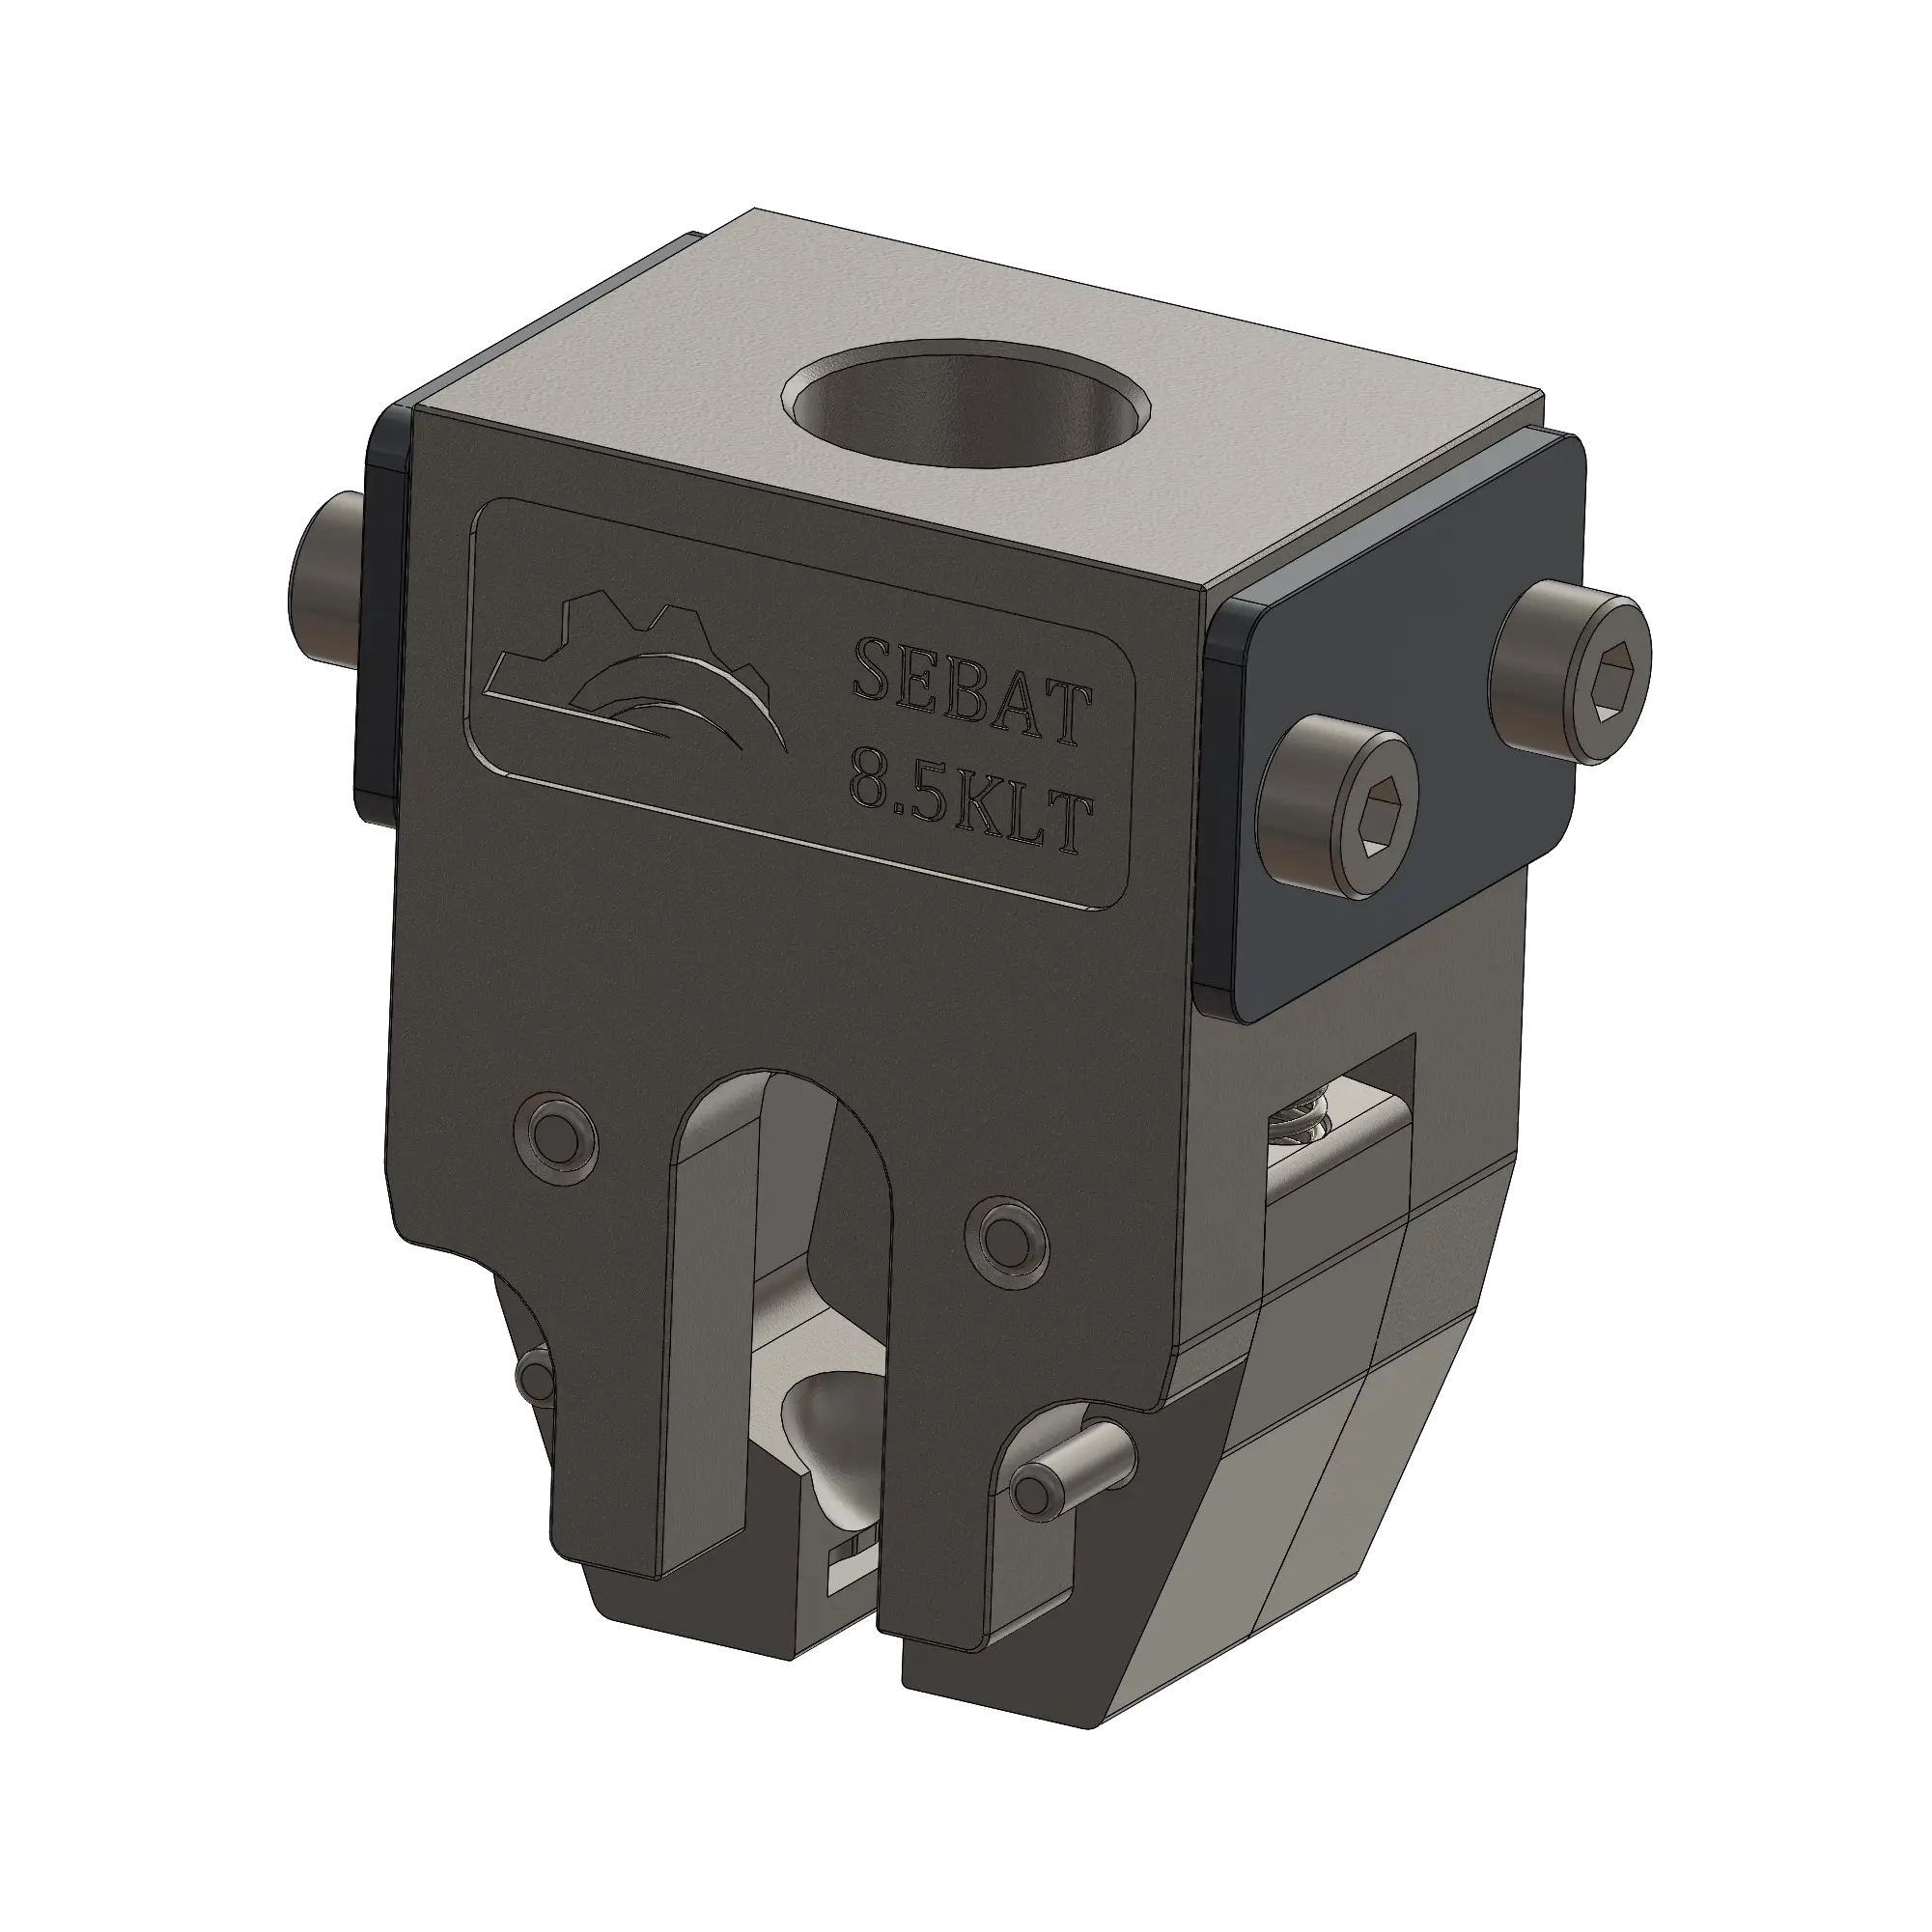
The machine is equipped with several sensors to prevent repeated pressing and to protect the dies and, consequently, the fabric being pressed from damage. While loading material into the hoppers, a defective material, non-standard material, or foreign object may have entered the system. During operation, this may prevent the material from passing through the channels, slide guides, or jaws and cause it to become jammed.
Possible Cause and Solution 2
If there is a jam in the slide guides, pull the manual slide lever located on the left side of the machine and remove any material jammed inside the lower or upper guides. After releasing the lever, check whether the slides return to their correct positions. If the indicator light on the sensor located on the right side is illuminated, the slides have returned to the correct position. (See: 9.2)
Possible Cause and Solution 3
If there is a problem with the material flow through the channels and the materials are not moving through the channel, remove the affected channel. Empty the materials inside the channel and separate any defective material. Then reinstall the channel in its correct position. If the problem persists, contact the service department. Avoid damaging the channels with files, screwdrivers, or similar objects. Our company is not responsible for parts damaged in this manner.
Possible Cause and Solution 4
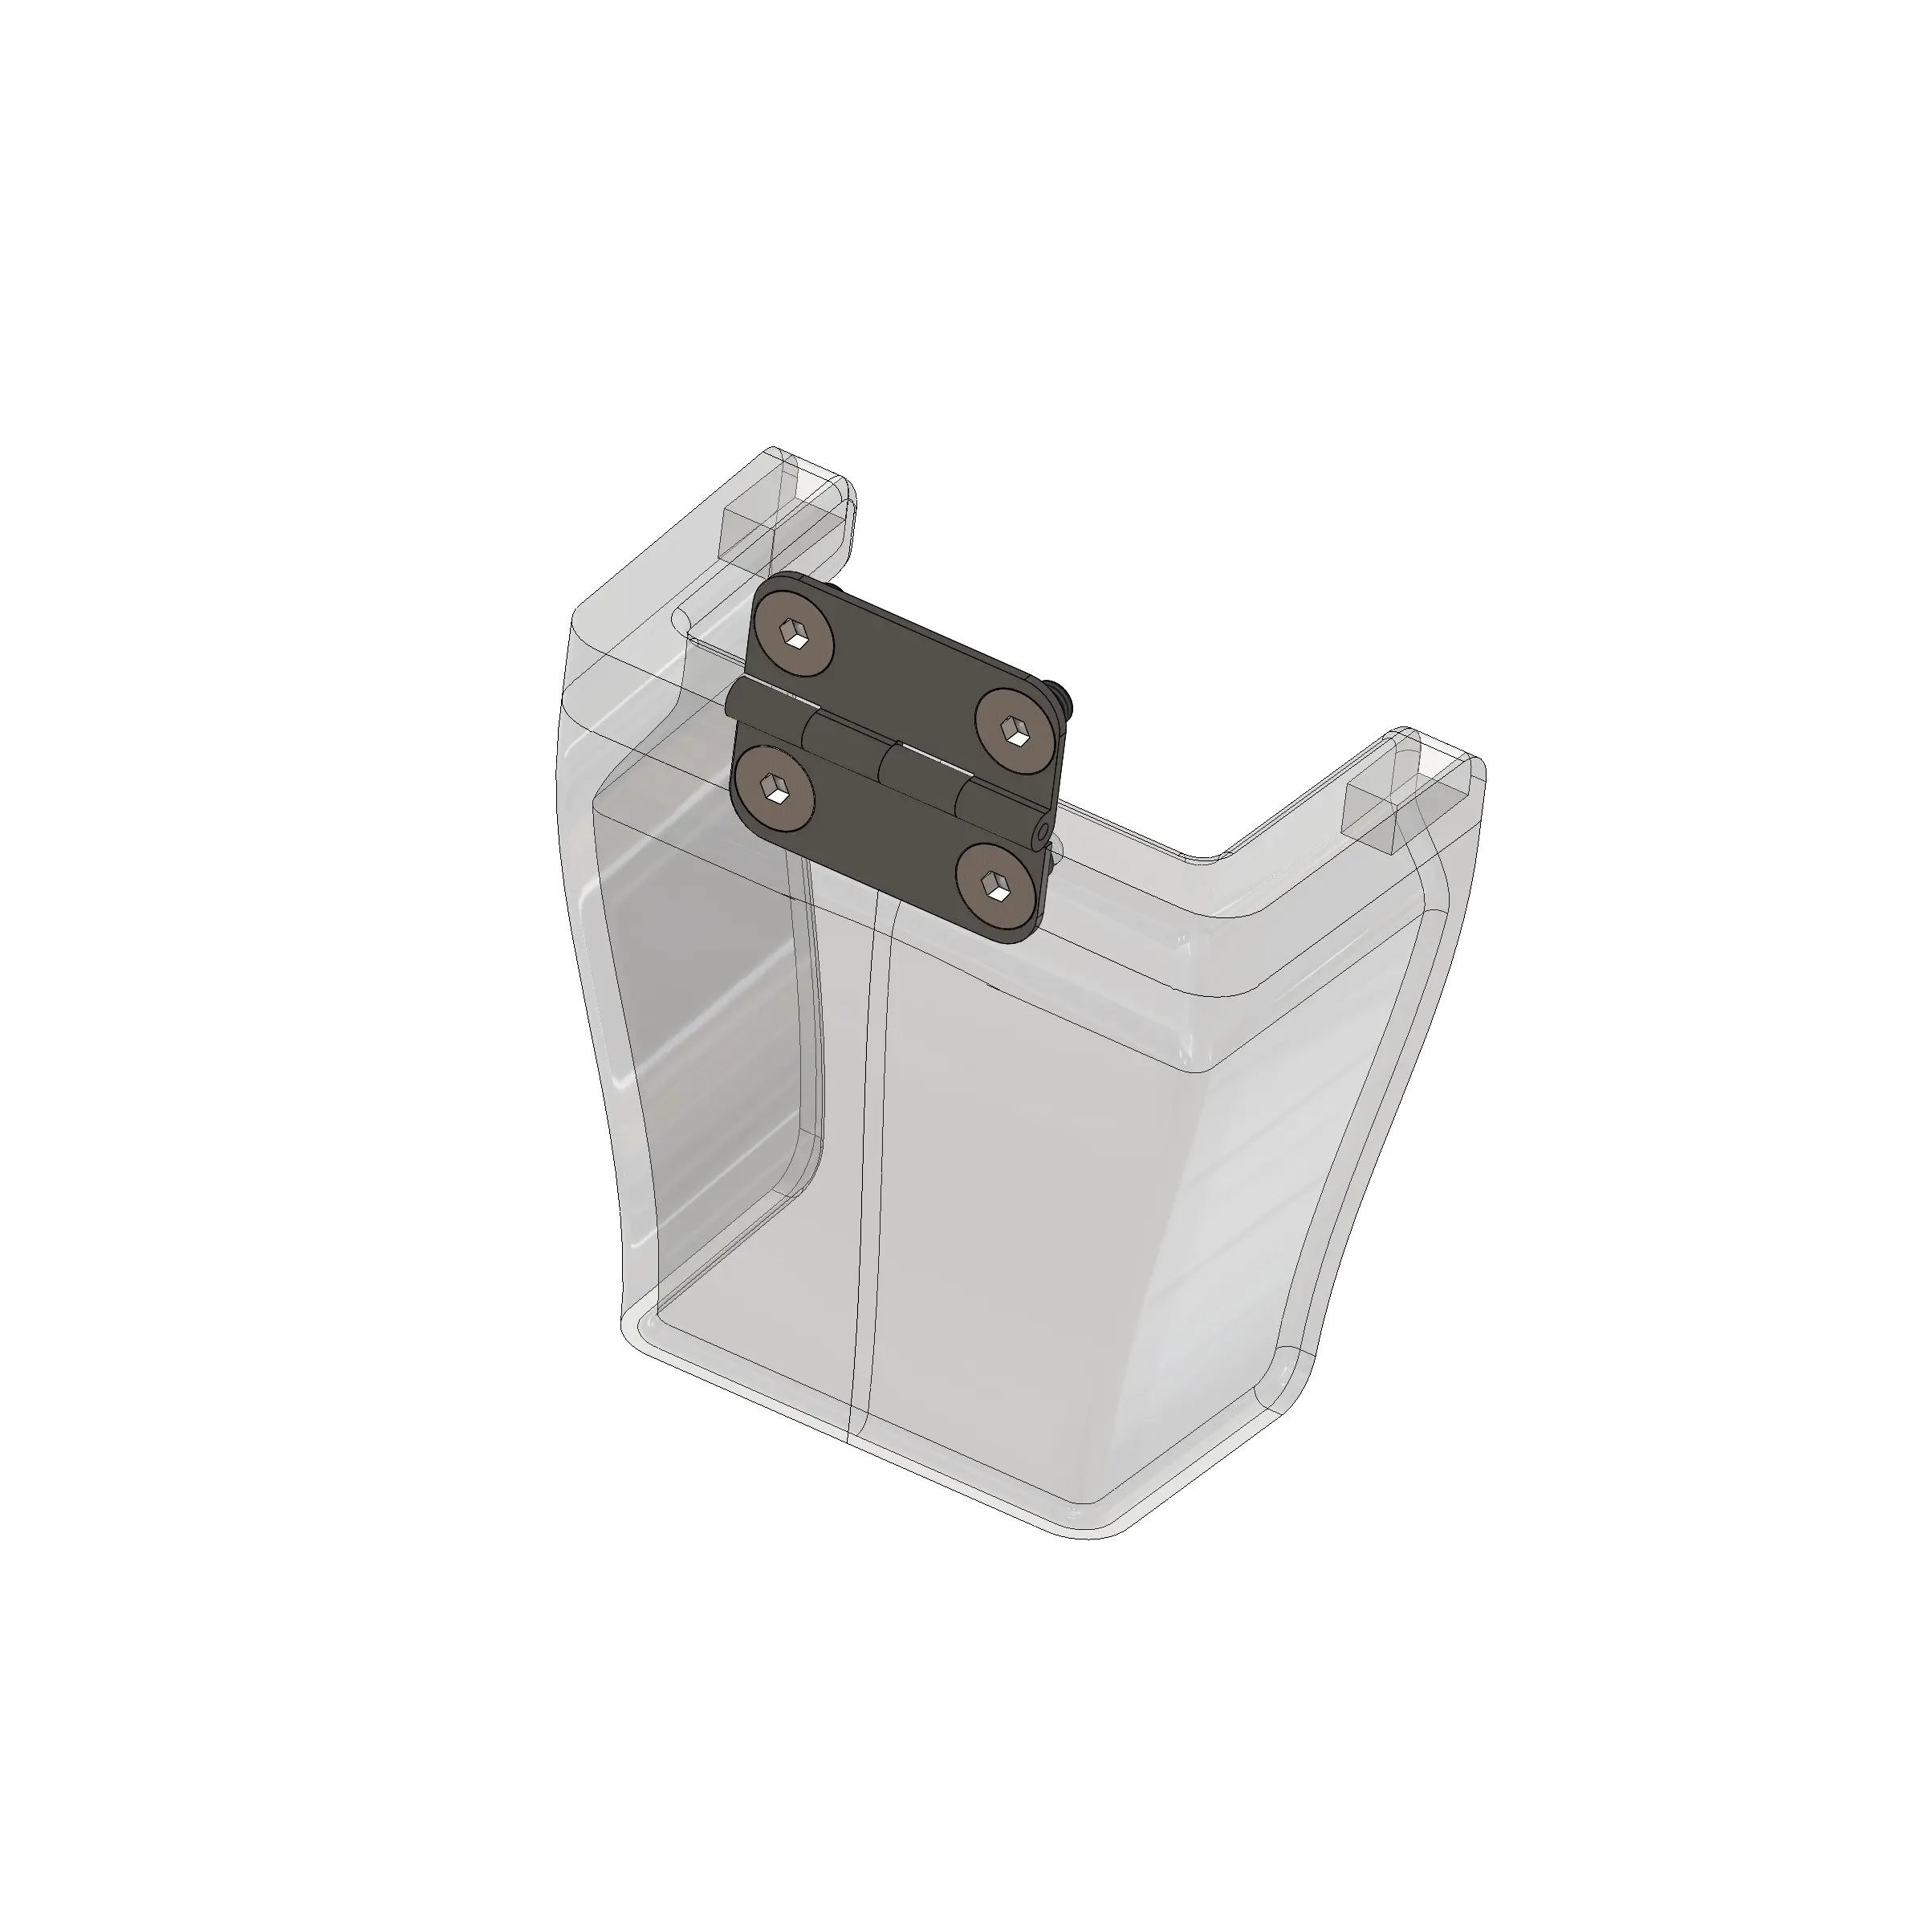
The machine is equipped with a hinged mechanical hand protection cover to help prevent hand injuries. This cover can be opened when necessary, for example, to remove material from the jaws by hand or to move the slides manually by pulling the manual lever. As a safety precaution, the machine will not operate while this cover is open. Make sure that the cover is closed and correctly positioned, then try operating the machine again.
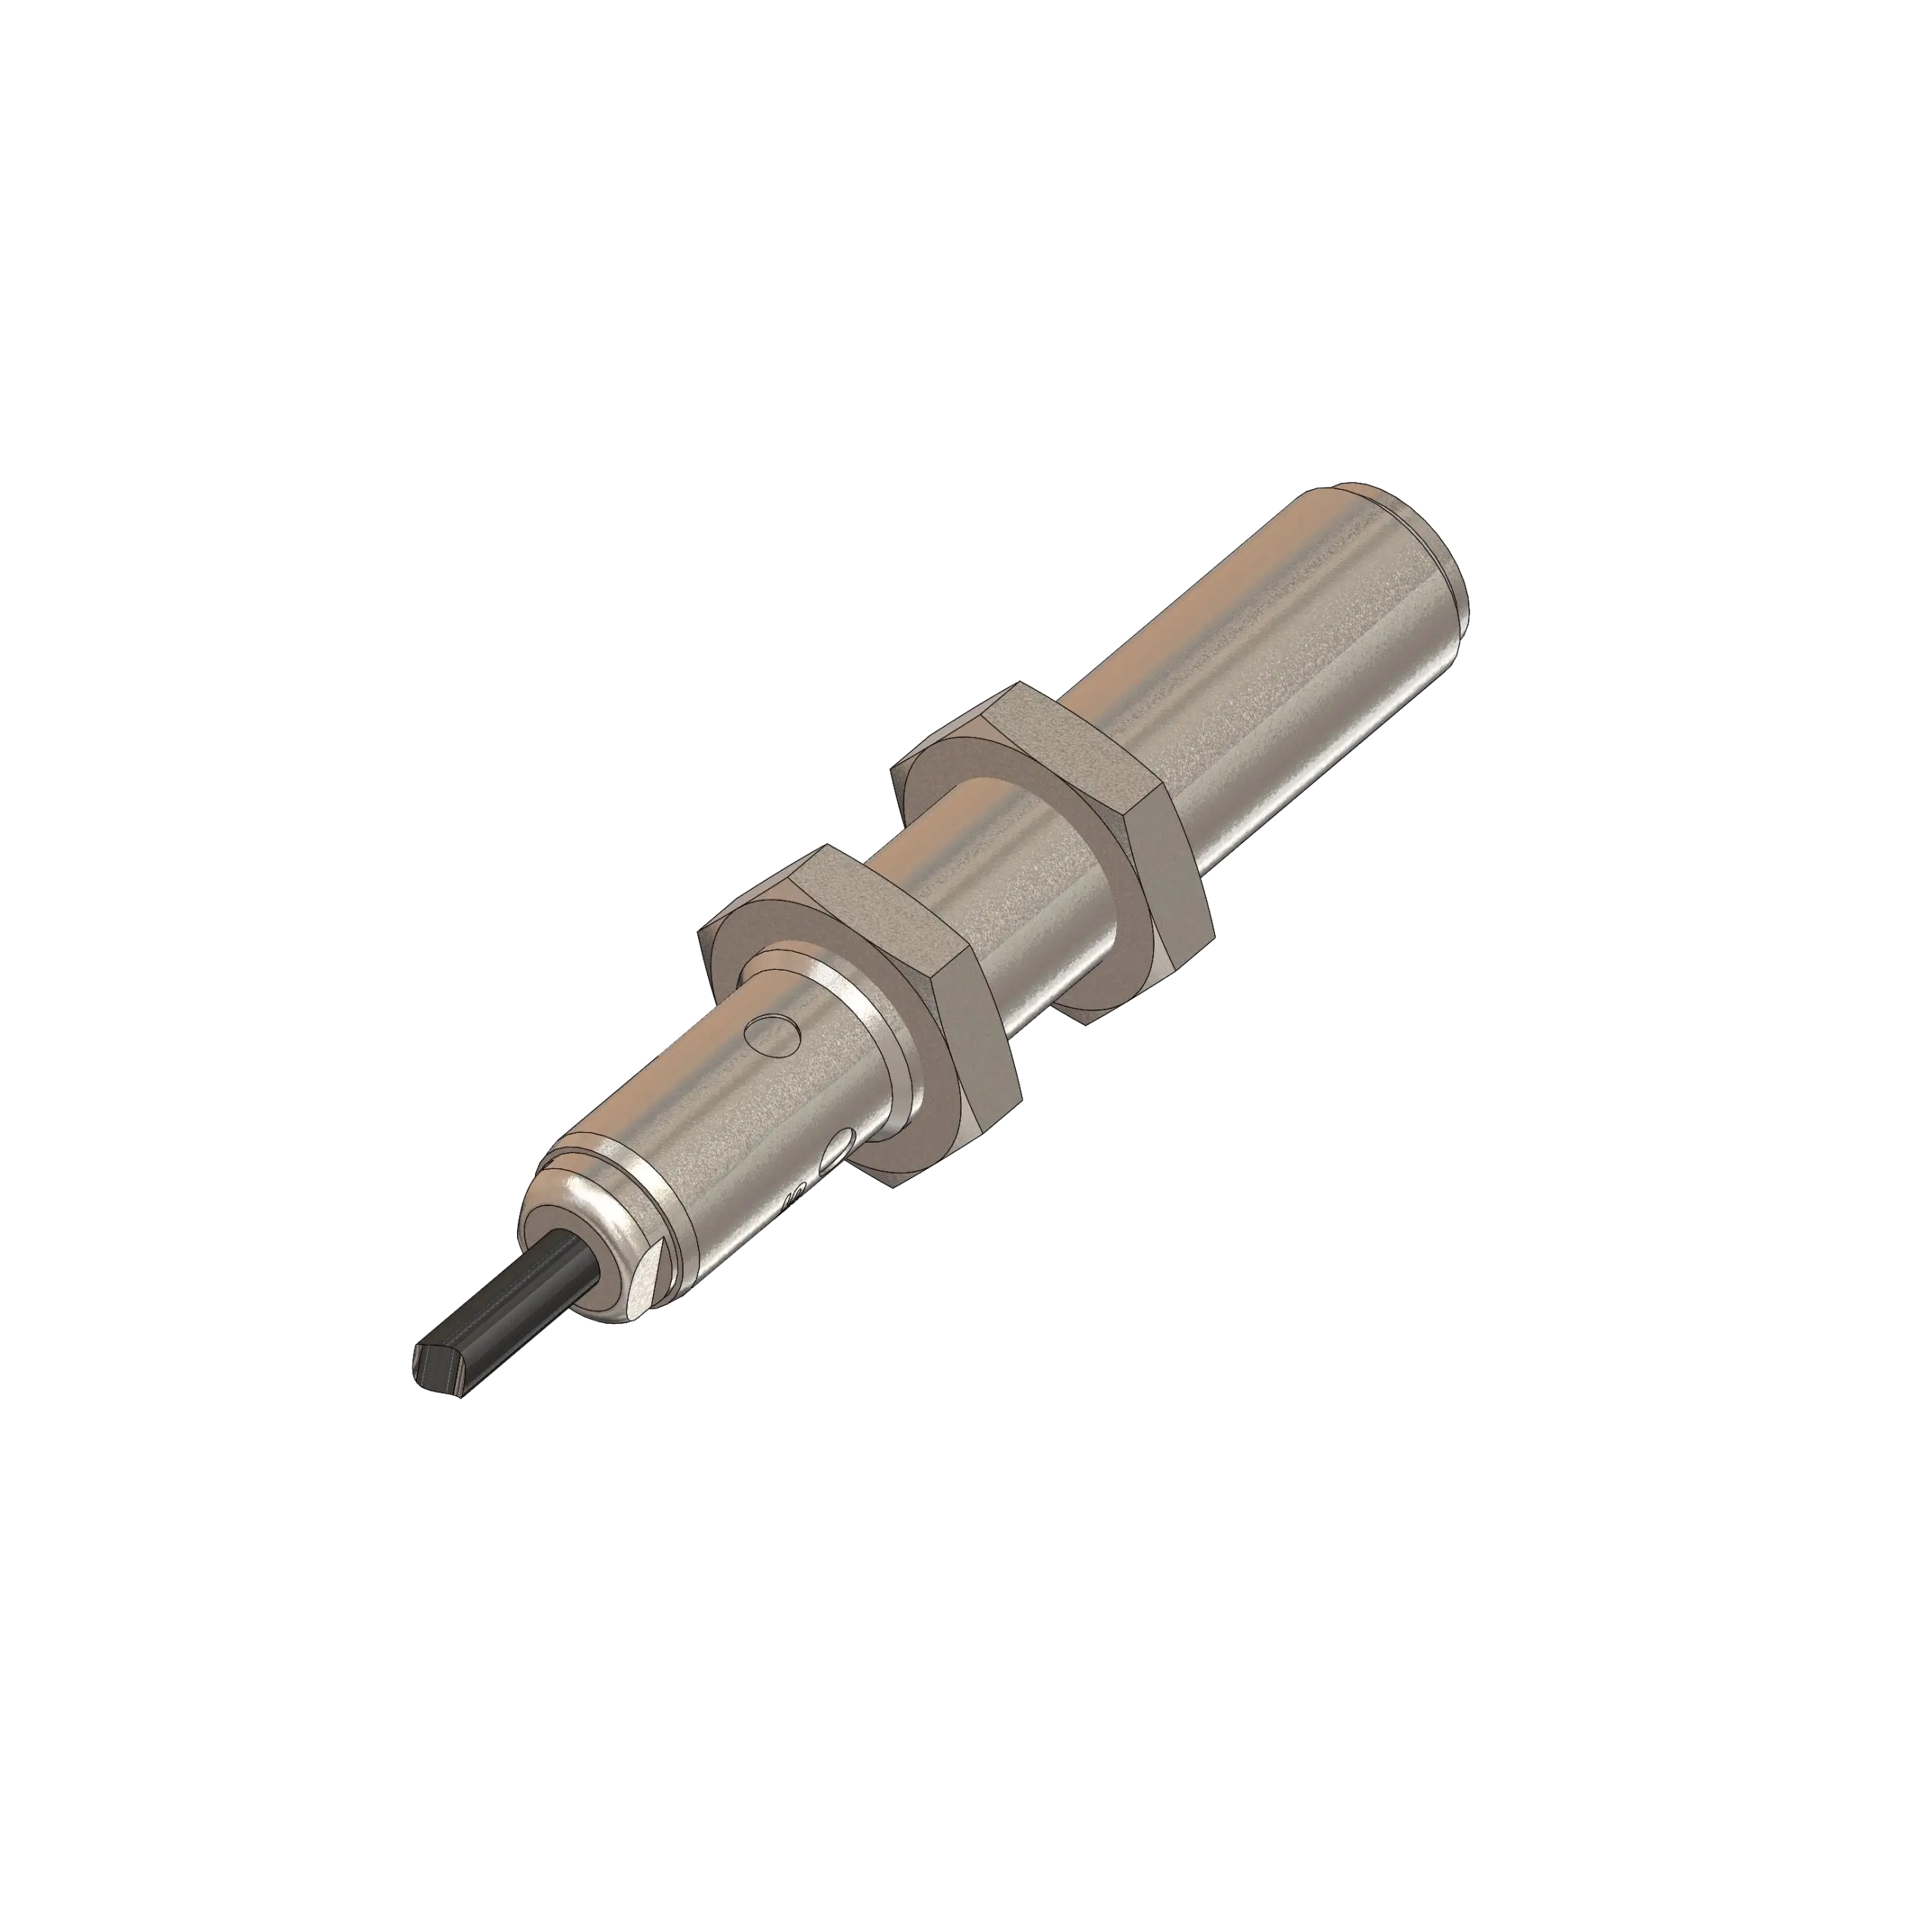
The machine is equipped with 3 sensors as well as various electronic components. If any one of these components fails to operate, the machine will not operate. You can check which component or sensor is functioning by observing the LED indicator lights on the electronic control board located inside the electrical panel. You can refer to the electrical diagram to determine which LEDs correspond to which sensors and components.
As long as no machine settings have been changed and the material being used has not been replaced with a non-standard material, the likelihood of this occurring is very low. This is because the machine is equipped with mechanisms called prongs that prevent more than one piece of material from being fed at a time. The springs that operate these prongs may have lost their function after prolonged use. Check the prongs manually and make sure that the springs are operating them correctly. If there is a problem, request replacement springs and replace them.
The machine's pressure adjustment may not be set correctly. Adjust the pressure as described in Section 13 of the user manual. If the problem continues, contact technical service.